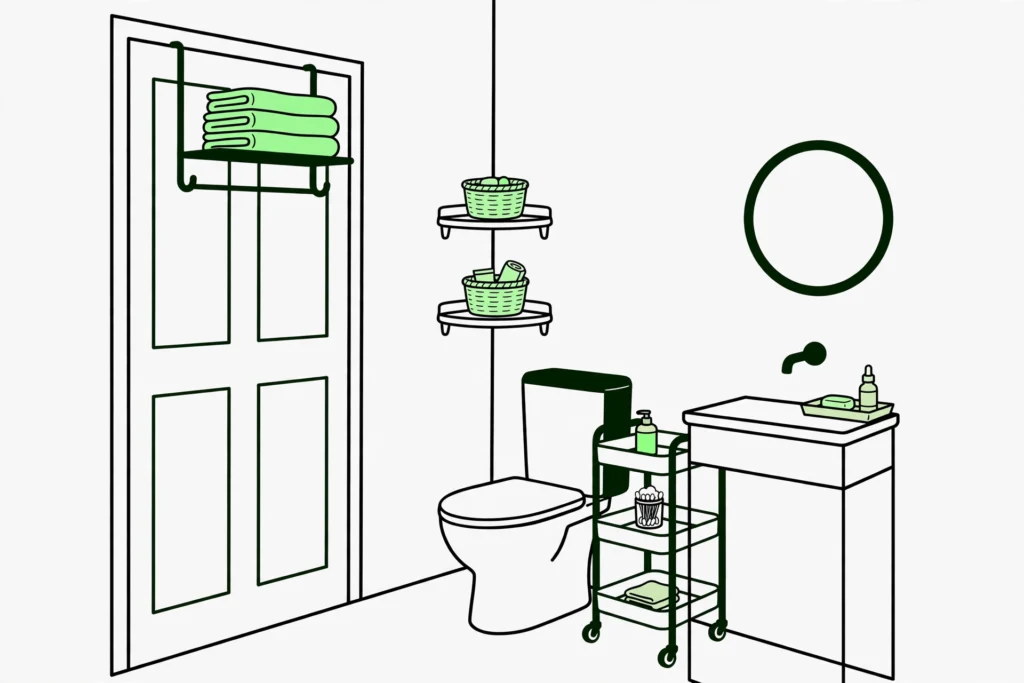
A bathroom with no storage gets organized in four moves: sort everything by how often you use it, measure the few places storage can physically go, add a small set of non-permanent pieces in a deliberate order, then assign every category a home and keep it there. One fact governs all four moves. The storage you add is all the capacity this room will ever have. There is no cabinet quietly absorbing overflow, so the system only works if bulk and backstock live somewhere else in the home. Work through the steps in order; each one makes the next one possible.
Step 1: Sort Everything Into Four Piles
Take everything that currently lives in the bathroom, including whatever is balanced on the sink edge, the tank, and the tub rim, and sort it into four piles:
- Daily. What you use every day: toothbrush and toothpaste, cleanser, moisturizer, deodorant, daily medicines, the hairbrush. In a shared bathroom, build this pile per person, because daily means per person, not per room.
- Weekly. What you use most weeks: nail tools, the hair dryer, weekly treatments, spare soap, the first-aid basics.
- Backstock. Spares, refills, and bulk: the multipack of toilet paper, the second shampoo, cotton balls by the bag, refill bottles.
- Not for this room. Duplicates beyond one spare, appliances you rarely use, seasonal items, and anything you keep in the bathroom only because it landed there.
The ruling is strict, and it is the whole article in miniature: only the daily and weekly piles earn space in this room. Backstock lives outside the bathroom, on a hall closet shelf, in a bedroom drawer, in a kitchen cabinet, wherever your home actually has room. The not-for-this-room pile leaves or is discarded. This feels harsh until you see the alternative, which is the room you have now: a small space trying to store four piles of things with zero built-in storage, and failing at all of it.
Step 2: Measure the Six Places Storage Can Go
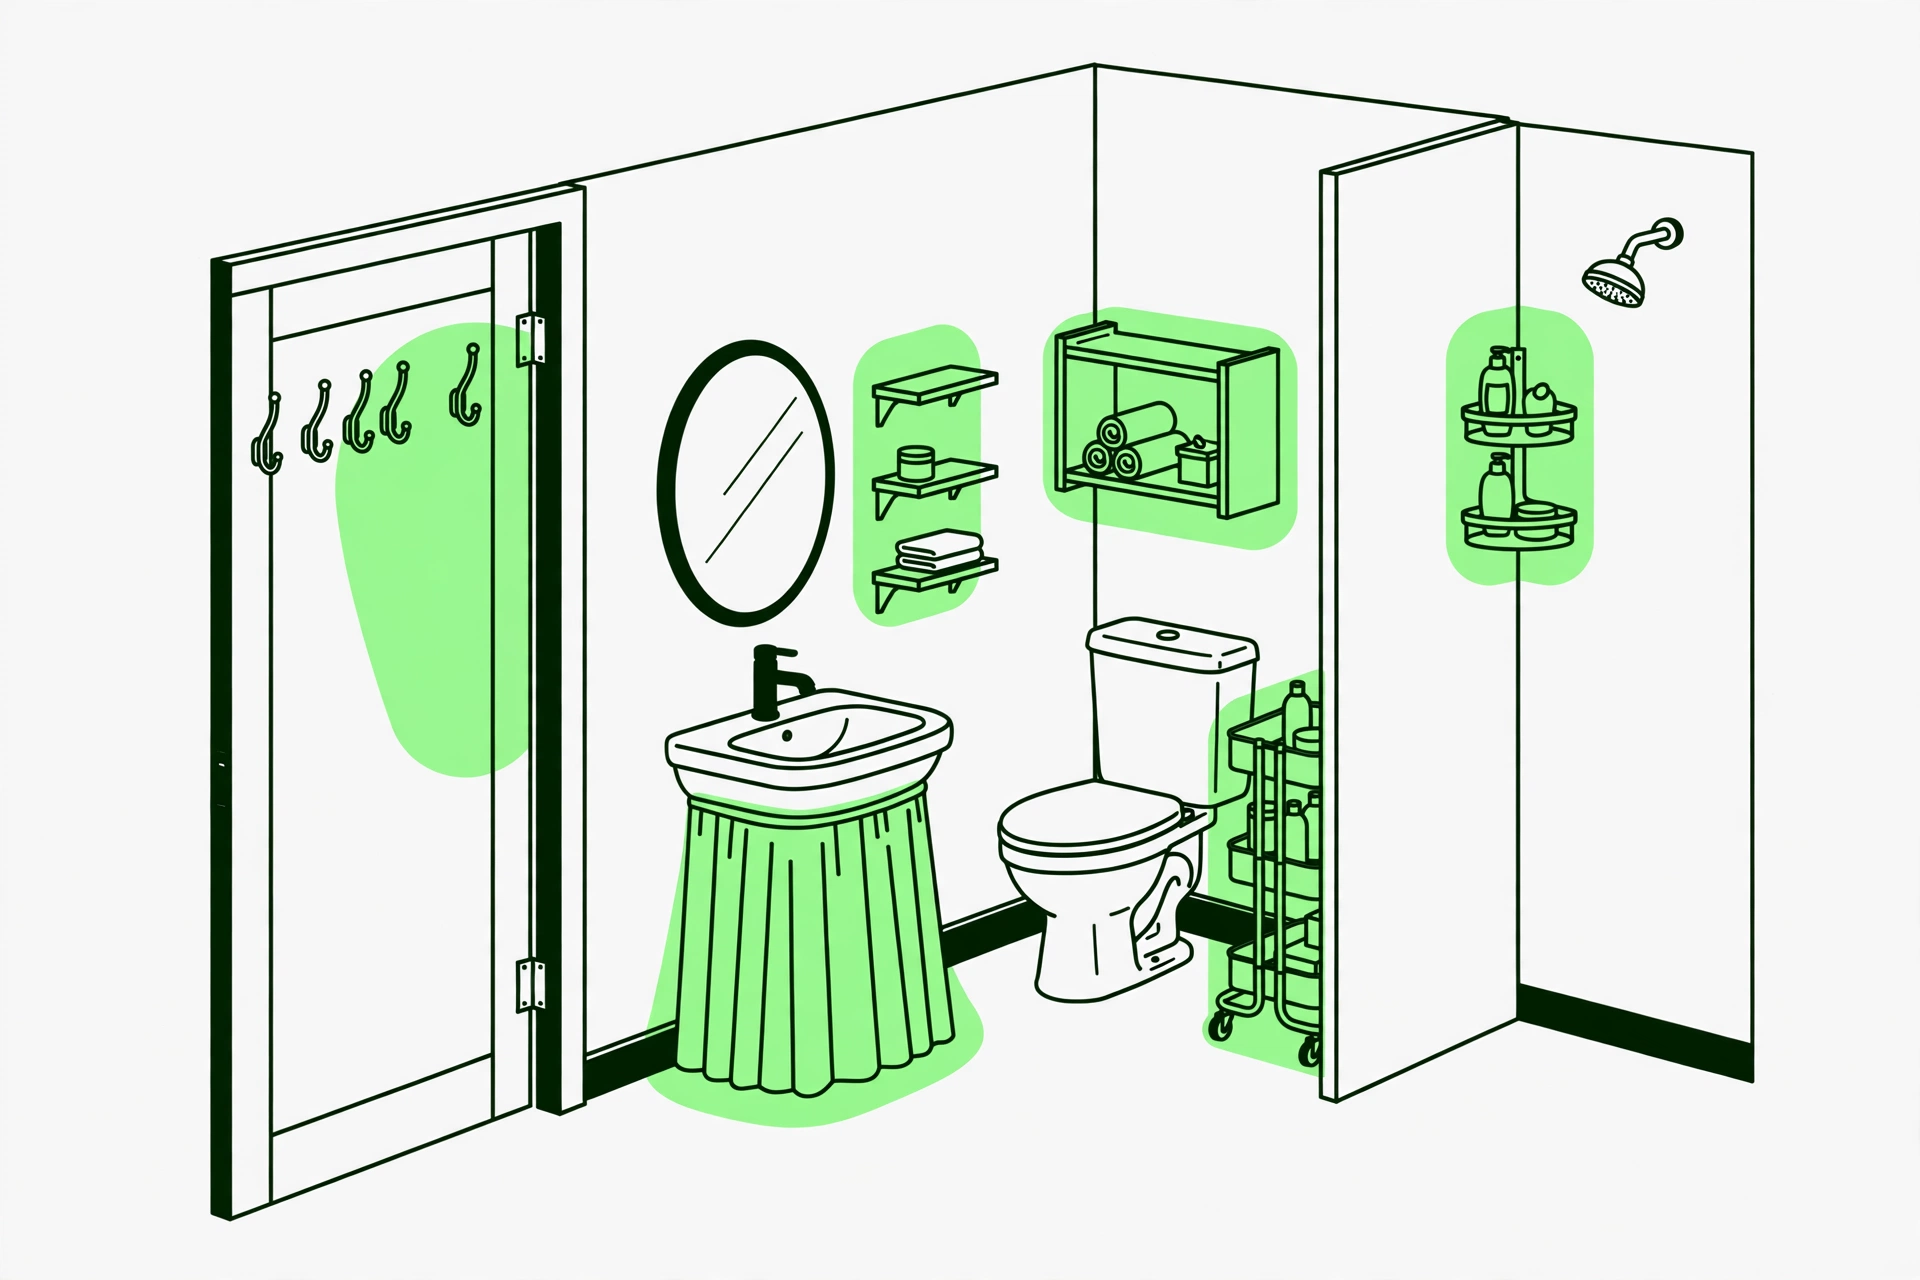
A bathroom with no storage still has surfaces and gaps; it just has no furniture. Six places can take added storage. Measure each one before you buy anything, because in a room this small a piece that is an inch too wide is not an inconvenience, it is a return.
- The back of the door. The largest unused surface in the room. Measure the gap between the door and its frame when closed, because over-door hooks have to fit through it, and check the swing: anything hanging on the door must clear the wall, tub, or towel rail behind it when the door opens fully.
- The wall beside and above the sink. Look for a flat, smooth stretch of tile or glass where adhesive shelves can grip. Measure its width and height, and note how close it sits to the shower spray. Adhesive mounting needs a clean, dry, smooth, non-porous surface; painted or textured walls are where adhesive shelves go to fail.
- Over the toilet. Measure the width of the alcove or wall run, and the depth from the wall to the front of the tank. Then the two access checks that decide whether a freestanding unit works at all: you must still be able to lift the tank lid clear, and reach the shut-off valve behind or below the tank, with the unit in place.
- The floor gaps. Beside the toilet and beside the pedestal sink there is usually a narrow strip of floor. Measure its exact width, baseboard to fixture, and check the floor is level. This measurement, to the half inch, is the width of the rolling cart you will buy in Step 3.
- Around the pedestal. The open floor under the sink bowl, on either side of the column and the drain pipe. Measure the usable floor on each side. Nothing here is enclosed, which is why this zone ends up hidden behind a skirt or a U-shaped shelf in Step 3, and why the pipes must stay reachable, not boxed in.
- Inside the shower. The shower is its own zone with its own rules, and bottles stored there should be organized there rather than migrating to the sink. That zone has a dedicated system in the no-drilling shower guide; this article only counts it as one of the six places so the assignment in Step 4 is complete.
One conditional note: if your sink does have a cabinet under it, you own a seventh zone this article deliberately skips, because organizing inside a vanity is a different problem with its own under-sink system. Everything below assumes there is no cabinet at all.
Step 3: Add Storage in This Order
Add pieces in this order, not in the order you happen to find them. The sequence runs from the most capacity for the least floor space to the least, so if your budget or your room runs out halfway, what you already added is doing the heaviest work.
- Over-door rack or hook rail. First, because it costs zero floor space and immediately takes towels in use, robes, and a hanging pocket organizer for small items off every other surface. Fit check: the hooks match your door’s thickness and the door still closes and latches cleanly. The failure to avoid is an organizer so deep that the door bangs the wall or stops short of closing. If your door is a pocket or sliding door that cannot carry hooks at all, skip this piece entirely: the cart and the over-toilet unit absorb its load, and towels in use move to hooks on the wall zone from Step 2.
- Slim rolling cart. Second, because this cart is the drawers the bathroom never had. It slides into the floor gap you measured in Step 2 and holds the entire daily pile in tiers. Fit check: the exact gap width, baseboard included, and tier spacing tall enough for your tallest daily bottle. The failure to avoid is buying a cart on approximate width and wedging it in where it cannot roll; a cart that cannot roll out cannot be cleaned behind, and the gap becomes a trap.
- Freestanding over-toilet unit. Third, because it turns dead wall into shelving for the weekly pile, spare towels, and the in-room toilet paper. Fit check: the tank access from Step 2, lid off and valve reachable, and a level stance. The failure to avoid is a unit that wobbles on an uneven floor or boxes in the plumbing; shim it level, and if the tank lid cannot come off, the unit is wrong for the room.
- Adhesive or tension wall shelves by the sink. Fourth, and only for what the cart cannot keep within arm’s reach of the sink. Fit check: a smooth, non-porous surface, cleaned and dry, and the maker’s full waiting time before you load the shelf. Treat every stated weight rating as a maker’s claim, not a promise: load these shelves conservatively, with light daily items rather than the heaviest bottles you own. The failure to avoid is mounting on painted or textured walls and loading the shelf the same hour it goes up.
- Lidded baskets. Fifth, placed on the over-toilet shelves or the floor, for the categories that look like clutter when they sit open. Fit check: the basket fits the shelf depth so it can come out without turning sideways. The failure to avoid is open baskets for messy categories; in a room where all storage is visible, an open basket of mixed bottles is just clutter at a new height.
- Pedestal skirt or U-shaped shelf. Last, because it holds the things you reach for least: the cleaning caddy and the in-room bulk that survived the sort. A fabric skirt on a tension rod or adhesive strip hides the zone; a U-shaped shelf wraps the column instead. Fit check: the skirt hem hangs clear of the floor so it never sits in mop water, and the pipes stay reachable. The failure to avoid is enclosing the pedestal so completely that a slow drip goes unnoticed; leave the zone easy to open and glance into.
Everything metal in this lineup lives in a steamy room, so rust-resistant finishes are the durable choice, and everything here lifts out, rolls out, or unhooks when you move. Nothing in this step needs a drill.
Step 4: Give Every Category a Home
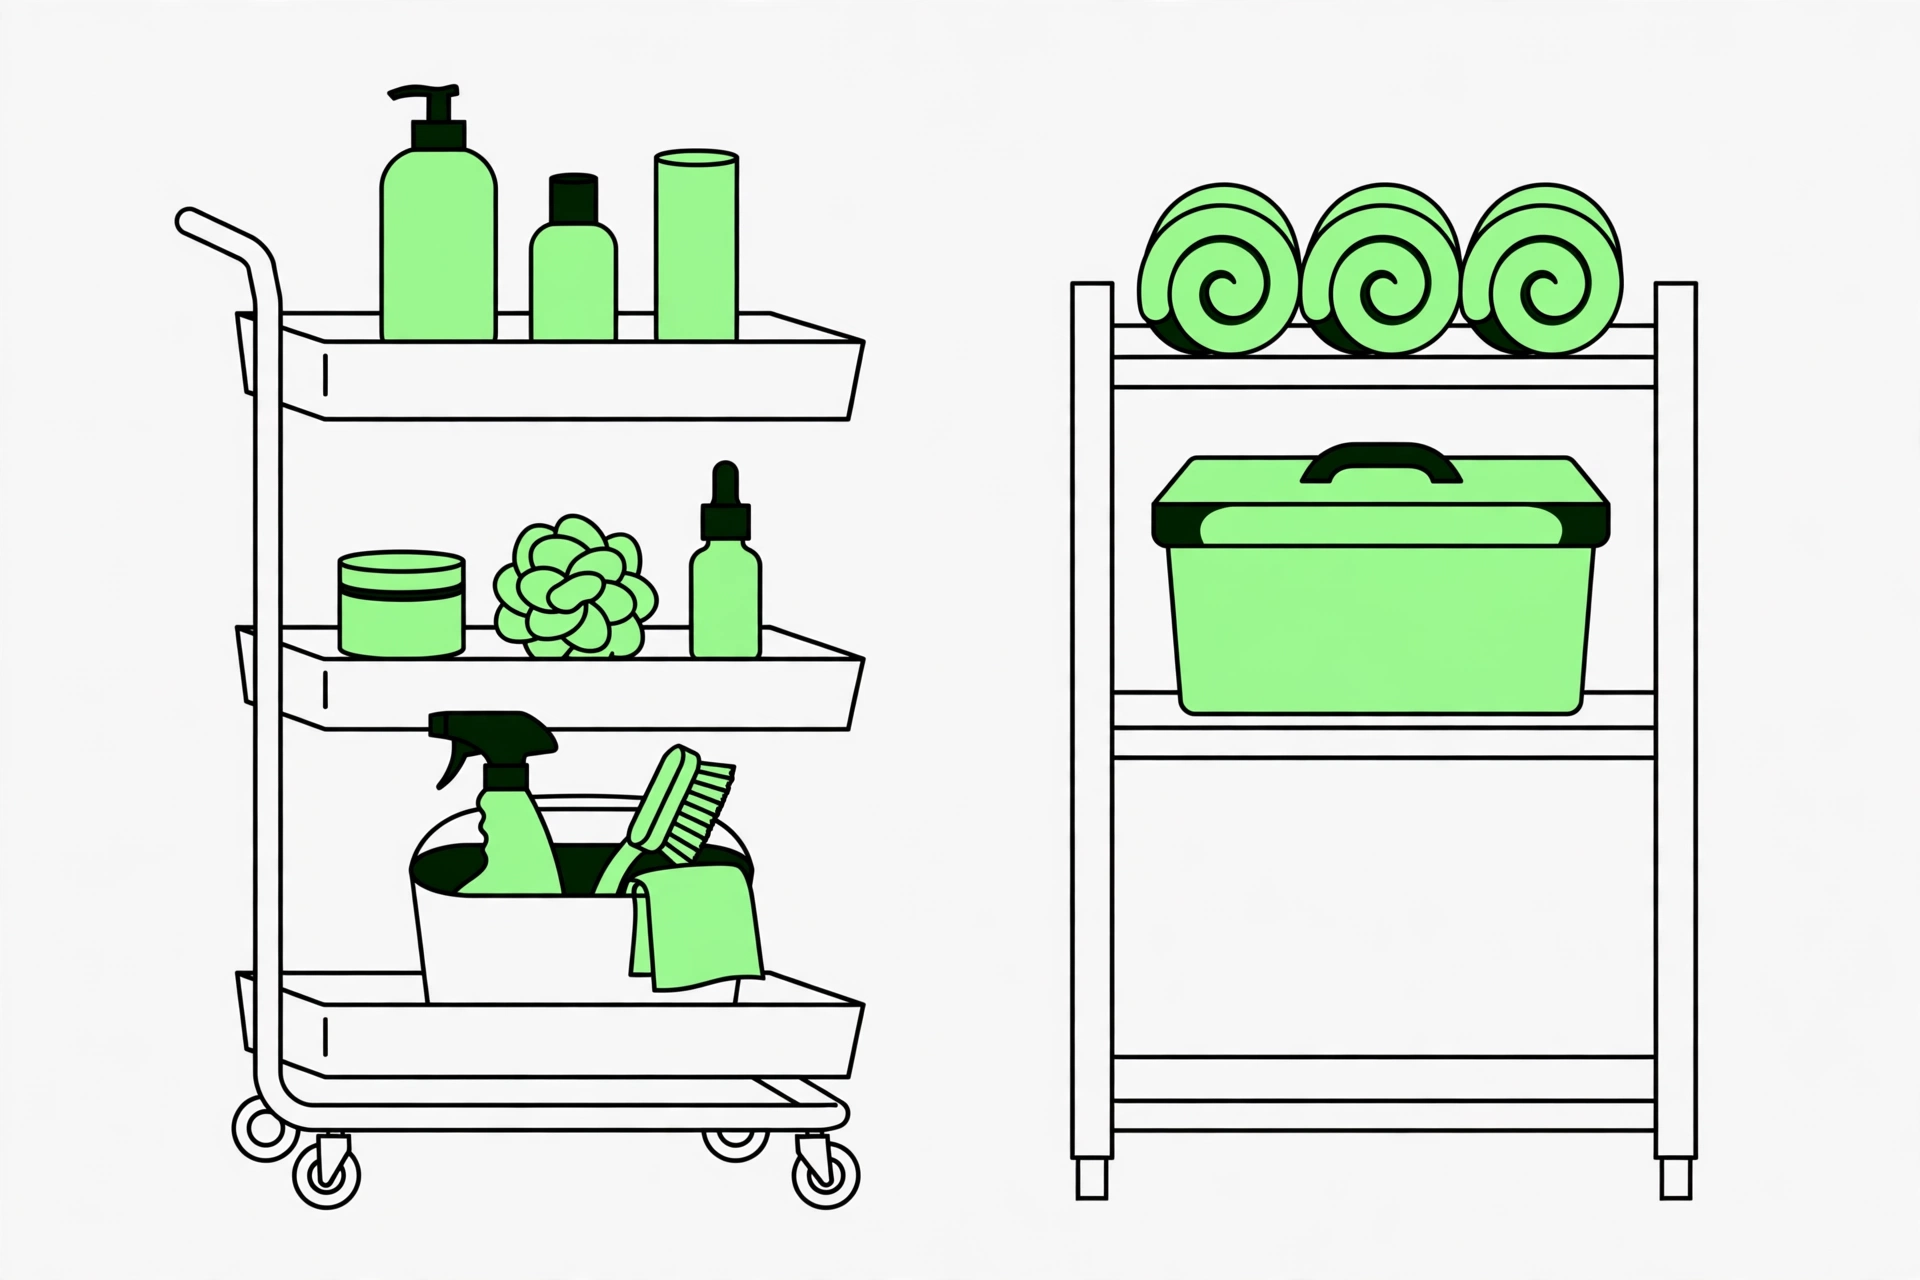
Now assign. The rule underneath the table: a category gets the home that matches how often it is used and how it behaves, daily items at arm’s reach of the sink, weekly items a step away, and nothing stored in the open unless it looks tidy doing it. Shower supplies are the one category that does not live by the sink at all; they stay in the shower zone from Step 2, organized by the no-drilling shower system, so bottles stop migrating between the tub rim and the counter.
| Category | Home | Why |
|---|---|---|
| Daily grooming (cleanser, moisturizer, deodorant) | Top tier of the rolling cart | Used at the sink twice a day; the cart is this bathroom’s drawer |
| Toothbrush and toothpaste | Cart top or the small wall shelf, off the counter | The counter stays a workspace, not a storage zone |
| Medicines and first aid | One lidded bin, on the over-toilet unit or a cart tier | Closed, grouped, and limited to the working set |
| Hair tools | Heat-safe holder on the cart or in the door organizer | Cord contained, heat kept away from pipes and water |
| Makeup and skincare | One cart tier or one row of the door organizer | One bounded zone per person, not a spreading collection |
| Towels in use | Hooks on the back of the door | They dry in moving air and the door is free capacity |
| Spare towels | Rolled, on the top shelf of the over-toilet unit | Visible and bounded: what fits there is what the room keeps |
| Toilet paper | One spare roll in the room; the multipack with the backstock outside | Bulk is backstock by definition, and Step 1 already ruled on it |
| Cleaning supplies | One caddy under the pedestal or on the cart’s bottom tier; brush and plunger beside the toilet base | Low, together, and separate from toiletries if the caddy tips |
Two assignments deserve a sentence each. The medicine bin holds a working set only: current, in-date, labeled items you actually use. What earns a place in it, and what gets tossed instead, follows the same judgment as the medicine cabinet checklist, applied to a bin instead of a cabinet; long-term stock and anything that must work in an emergency keep better in a cool, dry place outside this steamy room. And the visibility rule for the whole table: in a bathroom with no doors or drawers to close, closed containers carry the messy categories (medicines, cleaning, mixed small items) while open storage is reserved for the few things that look calm in the open, like rolled towels. That single choice is most of the difference between a no-storage bathroom that looks organized and one that looks like shelving happened to it.
Step 5: Keep the System From Sliding Back
Fixed capacity is what makes this system work, and it only stays working under one rule: one in, one out. A new bottle enters when the old one is finished or leaves, because there is no overflow zone quietly absorbing the difference. When a category outgrows its assigned home, that is the signal to edit the category, not to add a seventh piece of storage.
Hold the counter rule as well: the counter, if your sink even has one, is a workspace for the routine in progress. Everything on it returns to its assigned home when the routine ends. A no-storage bathroom has no surface to spare for permanent residents.
Finally, a five-minute weekly reset keeps the whole thing honest. Return the strays to their assigned homes, check that no backstock has crept back in from the hall closet, and wipe the cart tiers while it is rolled out. Five minutes weekly is the entire maintenance cost of the system, because every category has exactly one place to be checked against.
The bathroom with no storage is the extreme case of the rental bathroom: nothing built in, nothing to drill, everything to add deliberately. Sorted by frequency, measured before buying, and assigned category by category, it holds together the same way the rest of the room does in the full rental-bathroom system, with this page as the zero-storage starting point.

Mike Mann writes practical home organization and small-space living guides for CozySorted. His work focuses on apartment-friendly storage, clutter-free routines, bedroom organization, and simple systems that help renters, apartment dwellers, and small-space homeowners create calmer, easier-to-maintain homes.