The cabinet under your bathroom sink is the most wasted space in a rental bathroom: dark, pipe-filled, and usually a graveyard of half-used bottles. The system that fixes it without drilling is simple: map your pipe layout first, banish what never belongs under a sink, protect the cabinet from moisture, and only then choose organizers. Here is how to do each step in order.
Map Your Pipes in 2 Minutes (Before You Buy Anything)
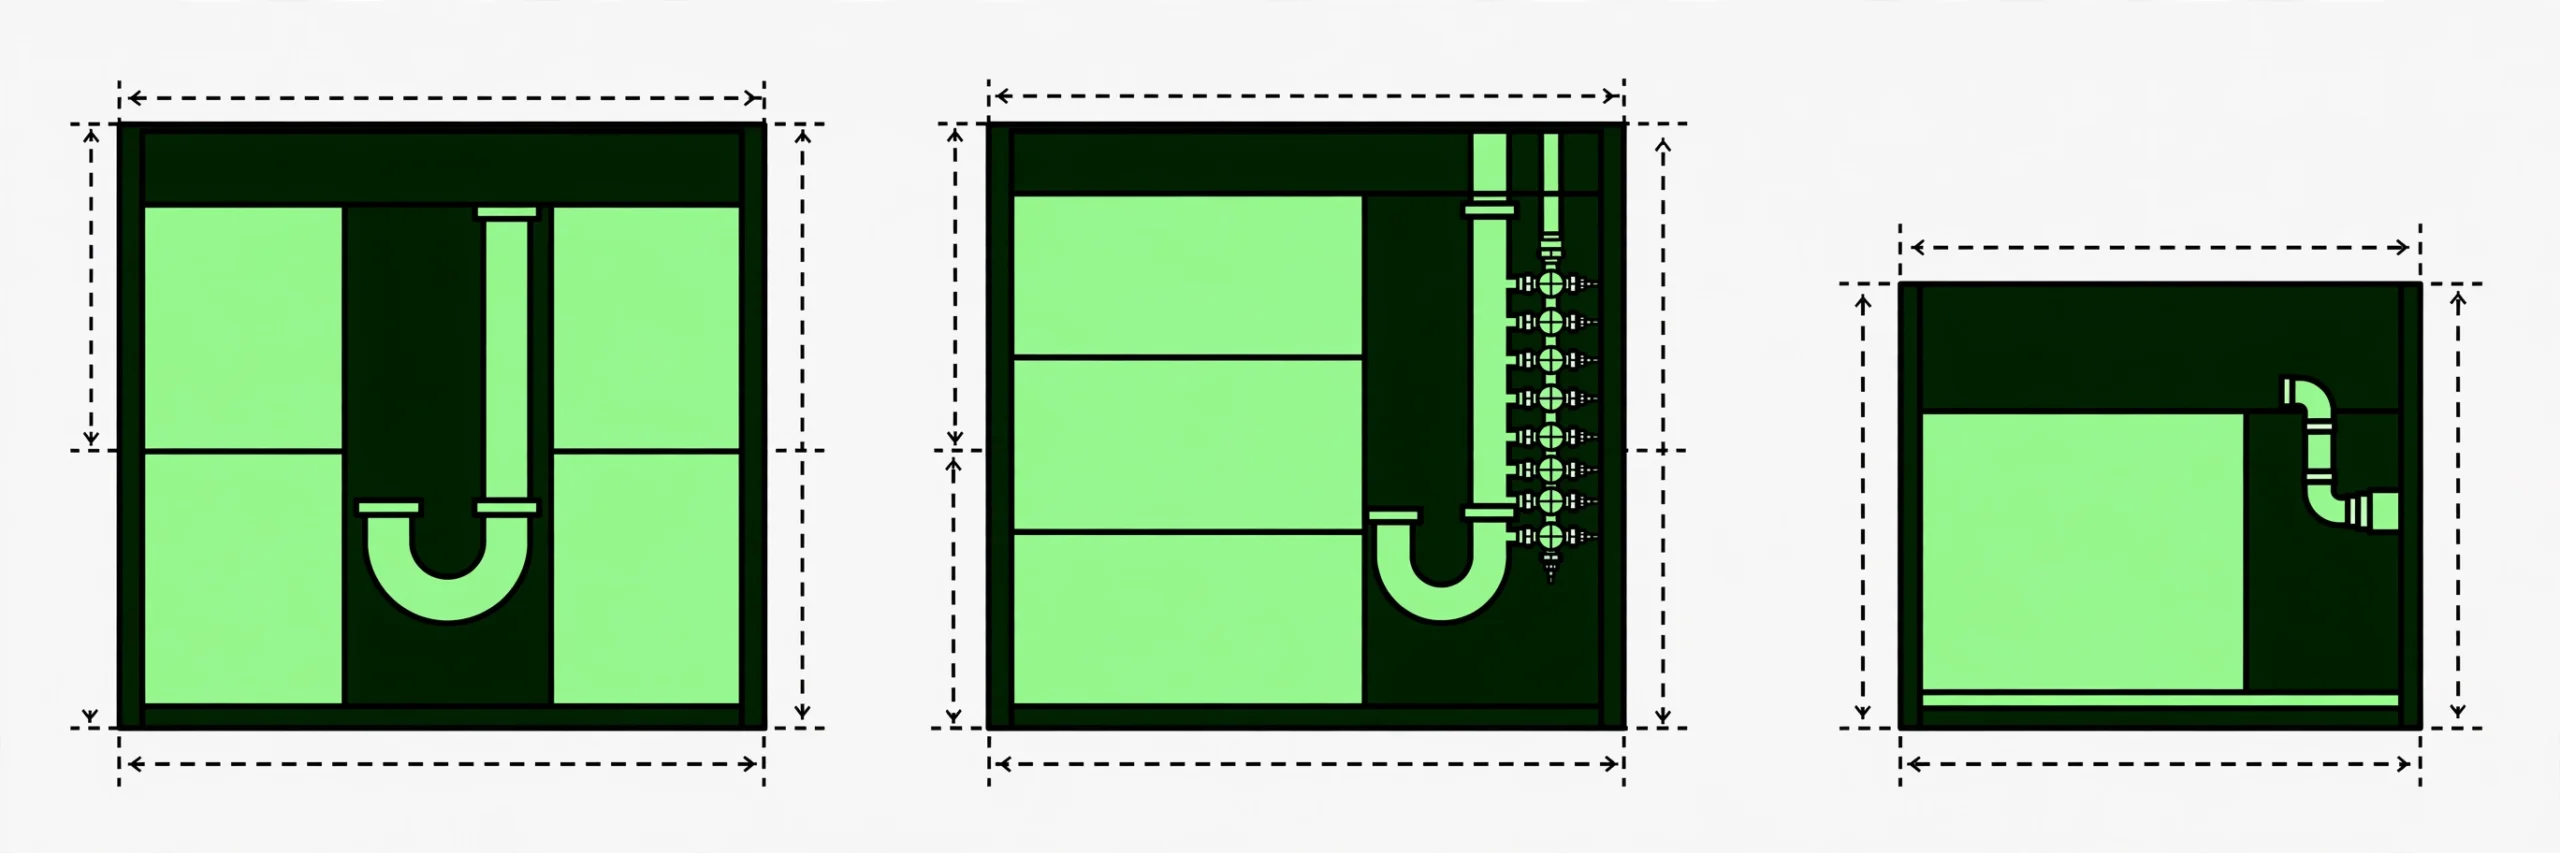
Every under-sink guide says “measure around the pipes” and stops there. Here’s the part they skip: the pipe layout decides which organizer fits, so read it before you shop. First, pull everything out of the cabinet; you can’t map pipes you can’t see, and you’ll declutter at the same time. Then crouch down and note three things: where the P-trap sits (centered or offset to one side), where the supply lines and shut-off valves are, and how much clear floor space is left. Snap a photo for reference. Keep the valves reachable; never stack anything against them that you couldn’t move in a hurry.
Then match your layout to one of three cases:
- Case A: Center trap with clear space on both sides. This is the easy case. An L-shaped two-tier sliding organizer fits around the trap: the narrow top tier straddles the pipe, the wide bottom tier slides out below it.
- Case B: Offset trap or crowded valves. Skip the L-shape; it won’t sit level. Instead, flank the pipes with two narrow stackable towers, one on each side, and use the door interior for small items.
- Case C: Very shallow or tiny cabinet. Floor units won’t fit at all. Go vertical instead: a horizontal tension rod across the cabinet walls for spray bottles and cloths, plus an over-door basket.
Two minutes of mapping saves you from buying the wrong unit, which in my experience is the mistake renters repeat most with under-sink projects. In the lineup below, each organizer carries a Best for tag naming which case it serves, so you can skip straight to yours.
What Never Belongs Under a Bathroom Sink
Before organizing, evict. Some things actively degrade in a dark, humid cabinet:
- Medications. Heat and humidity break down effectiveness over time. Store meds in a cool, dry place instead, like a bedroom drawer or the medicine cabinet.
- Electronics. Electric toothbrushes, shavers, and anything with a battery or charging base don’t mix with a zone that can get damp.
- Harsh cleaners next to toiletries. Bleach and ammonia-based products in an enclosed cabinet is a bad combination; plumbers warn that harsh chemical fumes can wear on metal valves and rubber gaskets over time. Cleaners get their own sealed zone (more below).
- Makeup. Humidity and temperature swings spoil cosmetics faster. Keep daily makeup where you apply it, not under the sink.
- Linens and spare towels. They absorb ambient moisture in an enclosed cabinet and turn musty. Spares live outside the bathroom.
If you’re unsure about an item, ask one question: does it mind heat, moisture, or chemical fumes? If yes, it lives elsewhere.
Treat It as a Wet Zone: Moisture-Proof First
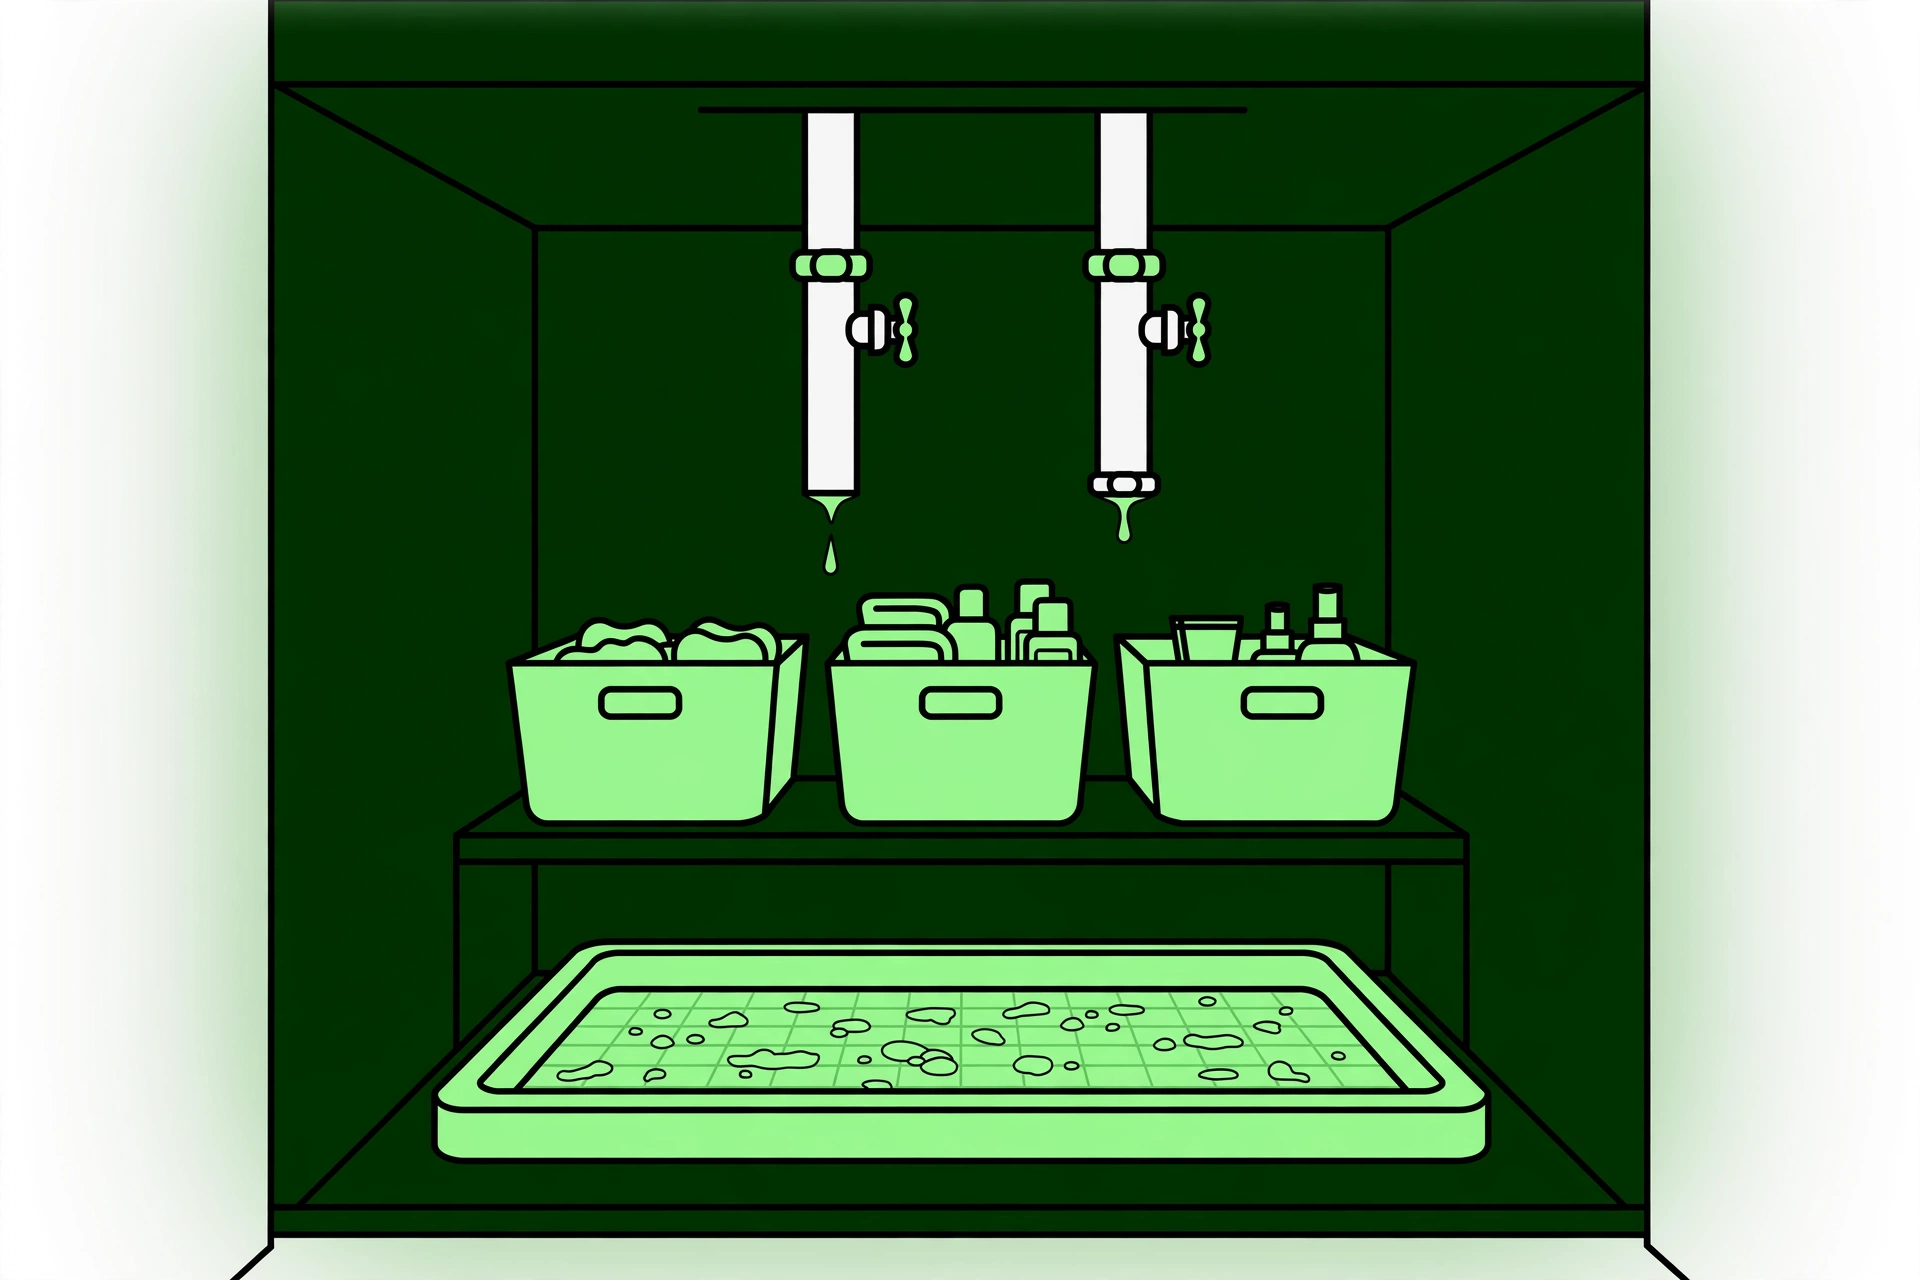
Here’s what product roundups never say: the under-sink cabinet is a wet zone. Slow drips from supply lines, condensation on cold pipes, and trapped humidity make it the dampest storage in your home. Organize for that reality:
- Buy the waterproof mat first. A raised-lip tray or mat under everything catches drips before they reach the cabinet floor. This is purchase number one, before any organizer.
- Learn the early warnings. A musty smell, warped shelf liner, or white crust on a valve means moisture is present.
- Check on a rhythm you already keep. Glance under the sink each time you deep-clean the bathroom. Tying the check to an existing habit means it actually happens.
- On finding water damage: photograph, report, don’t hide. If you find an active drip or stained wood, take photos and tell your landlord promptly. Renters aren’t responsible for plumbing, but they are responsible for reporting it early.
- Choose rust-proof, water-resistant materials. Plastic, coated metal, and sealed finishes for everything that lives here. Raw wood and untreated wicker don’t survive this cabinet.
The No-Drill Organizer Lineup (Matched to Your Layout)
Each of these installs without tools. Find your case from the mapping section and pick the organizers tagged for it.
1. L-Shaped Two-Tier Sliding Organizer
Best for: Case A (center trap). The workhorse for centered plumbing. The narrow upper tier fits around the P-trap while the wider lower tier pulls out for full access, so nothing gets lost in the back. Look for suction-cup or adhesive feet rather than screw-mounted versions, and check the total height against your cabinet before buying: the top tier needs to clear the bottom of the trap. Pull-out drawers beat fixed shelves here because you can’t reach around a pipe.
2. Stackable Bins and Drawers
Best for: Case B (offset trap), also works in A. The budget default and the right call when pipes crowd one side: two narrow towers flanking the plumbing, one on each side. Clear bins win because you can see what’s inside without pulling everything out. Stack no more than two or three high; taller towers tip when you yank a bottom bin. Keep daily items in the top bin of each tower and backstock below.
3. Horizontal Tension Rod
Best for: Case C (shallow cabinet). A spring-loaded rod wedged wall-to-wall inside the cabinet creates a hanging rail for spray bottles, brushes, and cloths. No hardware, no holes, endlessly repositionable. Twist it snug enough that a loaded spray bottle doesn’t drag it down, and re-tighten if the cabinet walls are slick.
The same organizer types work under kitchen sinks, by the way.
4. Turntable (Lazy Susan)
Best for: Cases A and B. For the bottle graveyard: a small turntable spins deep corners into reach. It shines on the wide, pipe-free side of the cabinet, where bottles otherwise line up in unreachable rows. Pick one with a raised rim so bottles don’t slide off when you spin it, and keep the tallest bottles in the center so the door still closes.
5. Over-Cabinet-Door Basket
Best for: all cases, especially B and C. A padded-hook wire basket over the door interior holds slim items (sunscreen, first aid, feminine hygiene) with zero drilling and zero floor space. Check the door still closes fully with it mounted; thick hooks can stop a cabinet door from latching. In shallow cabinets where floor units are impossible, this plus the tension rod can carry the whole system.
6. Expandable Shelving That Straddles Pipes
Best for: Case A. Width- and height-adjustable frames that assemble around the plumbing, creating a shelf where there was dead air. Measure your pipe positions first (see the mapping section) so the frame actually clears them; the adjustability helps, but it can’t bend around a trap you didn’t account for. These work best paired with bins on top, since the frame itself is just a shelf.
7. Adhesive Slim Pockets on the Door Interior
Best for: all cases. For the smallest items: slim adhesive pockets on the inside of the cabinet door. They need a clean, flat, non-porous surface; wipe the door with a damp cloth and let it dry before sticking, and skip textured or painted cabinet walls where adhesion fails. Let adhesive mounts cure a full 24 hours before loading them; most no-drill failures come from loading too soon. Best for flat, light items like sheet masks, bandages, and spare razors, not heavy bottles.
8. Repurposed Jars and Containers
Best for: all cases. Cotton balls, swabs, hair ties, and bobby pins don’t need bought organizers. Small jars and cups corral them for free. Keep them on the top tier where they’re visible, and keep them out of the cleaners zone: small open containers and chemical fumes don’t mix.
The Two-Zone Rule: Toiletries vs. Cleaners
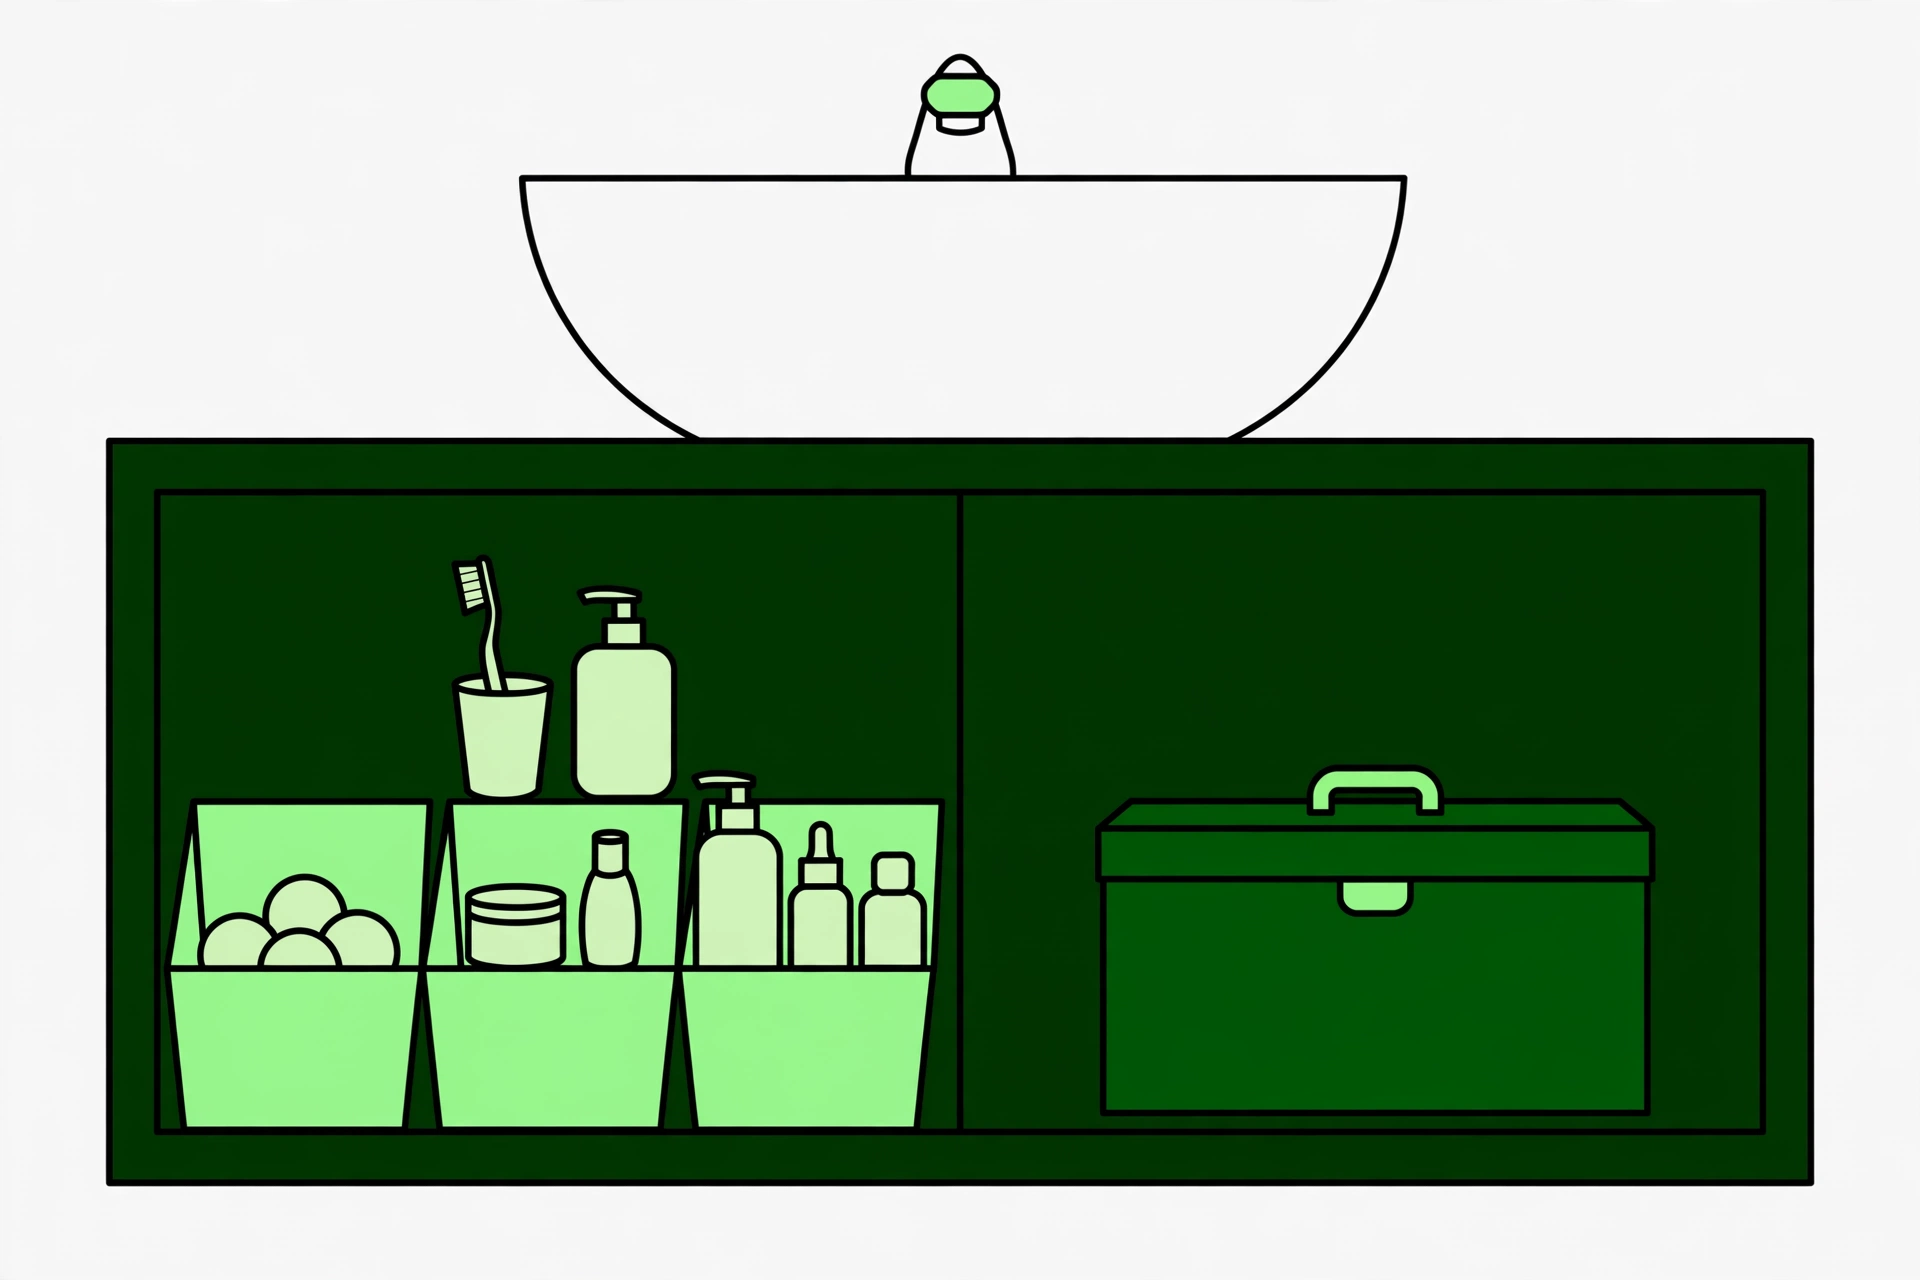
Don’t mix the two populations. Divide the cabinet into zones:
- Toiletries zone: daily and weekly personal care, in bins or on the sliding organizer.
- Sealed cleaners zone: all cleaning products inside one lidded bin or caddy, kept low in the cabinet.
Three reasons this matters: chemical fumes concentrate in enclosed cabinets (and plumbers warn about long-term wear on valves and gaskets), a sealed bin contains leaks from cracked bottles, and if kids or pets are in the home, the cleaners zone should be latched or pushed to the very back. One lidded bin is the whole system.
Where Hair Tools and the Awkward Extras Go
Hair tools need a heat-resistant holder or silicone mat, never loose against hot pipes or tangled with cords under the sink. Give them a dedicated spot on the top tier or the door basket, unplugged and cool before storing.
Feminine hygiene and first aid supplies go in a labeled door pocket or a top-tier bin: reachable, discreet, and separate from the cleaners zone.
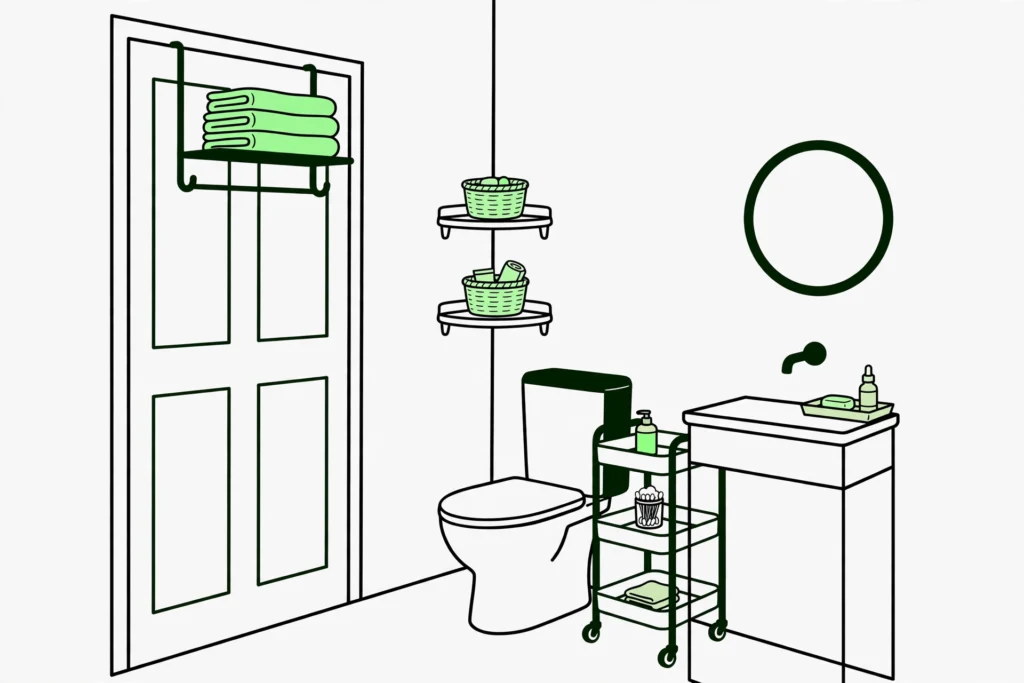
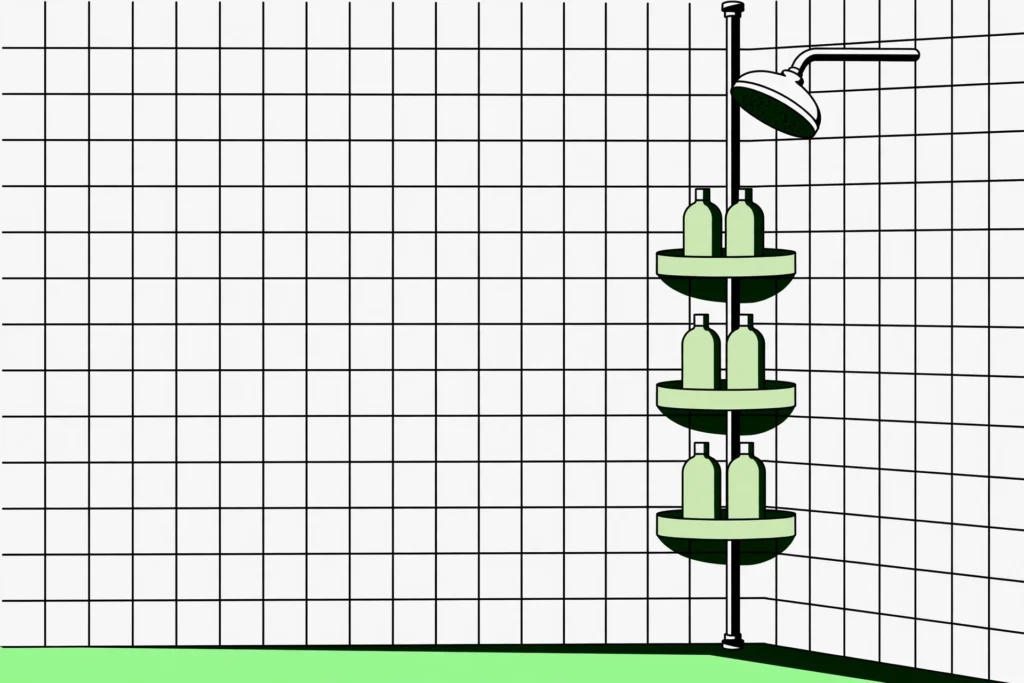
That’s the complete under-sink system, and it’s one part of a bigger picture: our full rental bathroom system covers the toilet zone, shower, door, and move-out checklist for the rest of the room. Start with the wettest zone: our guide to no-drill shower organization matches every mount to the surface it has to grip.

Mike Mann writes practical home organization and small-space living guides for CozySorted. His work focuses on apartment-friendly storage, clutter-free routines, bedroom organization, and simple systems that help renters, apartment dwellers, and small-space homeowners create calmer, easier-to-maintain homes.