A rental bathroom gives you the smallest room in the apartment, zero permission to drill, and a deposit on the line. The system that works under those constraints is simple: edit everything down first so there is less to store, store by zone with no-drill tools, and protect the setup from humidity and the deposit at move-out. Here is the full system, start to finish.
Edit First: What Leaves Before Anything Gets Stored
No storage product fixes a bathroom stuffed with things you don’t use. Before buying a single bin, pull everything out and edit hard:
- Toss expired meds, sunscreen, and cosmetics. Check dates; pharmacies take back old medications per local guidance.
- Ditch duplicates. Three half-used shampoos become one. Nobody needs four razors.
- Throw out dried-out and dead products. If it doesn’t work anymore, it’s not storage-worthy.
- Apply the three-month test. Haven’t touched it in three months? It’s a useful rule of thumb: out it goes. (Donate unopened extras to a shelter.)
- Relocate non-bathroom items. Cleaning supplies and bulk paper goods don’t earn bathroom space.
Many renters are surprised how much leaves in this step alone. A seasonal declutter checklist keeps the edit honest over time.
12 No-Drill Hacks to Store More in Your Rental Bathroom
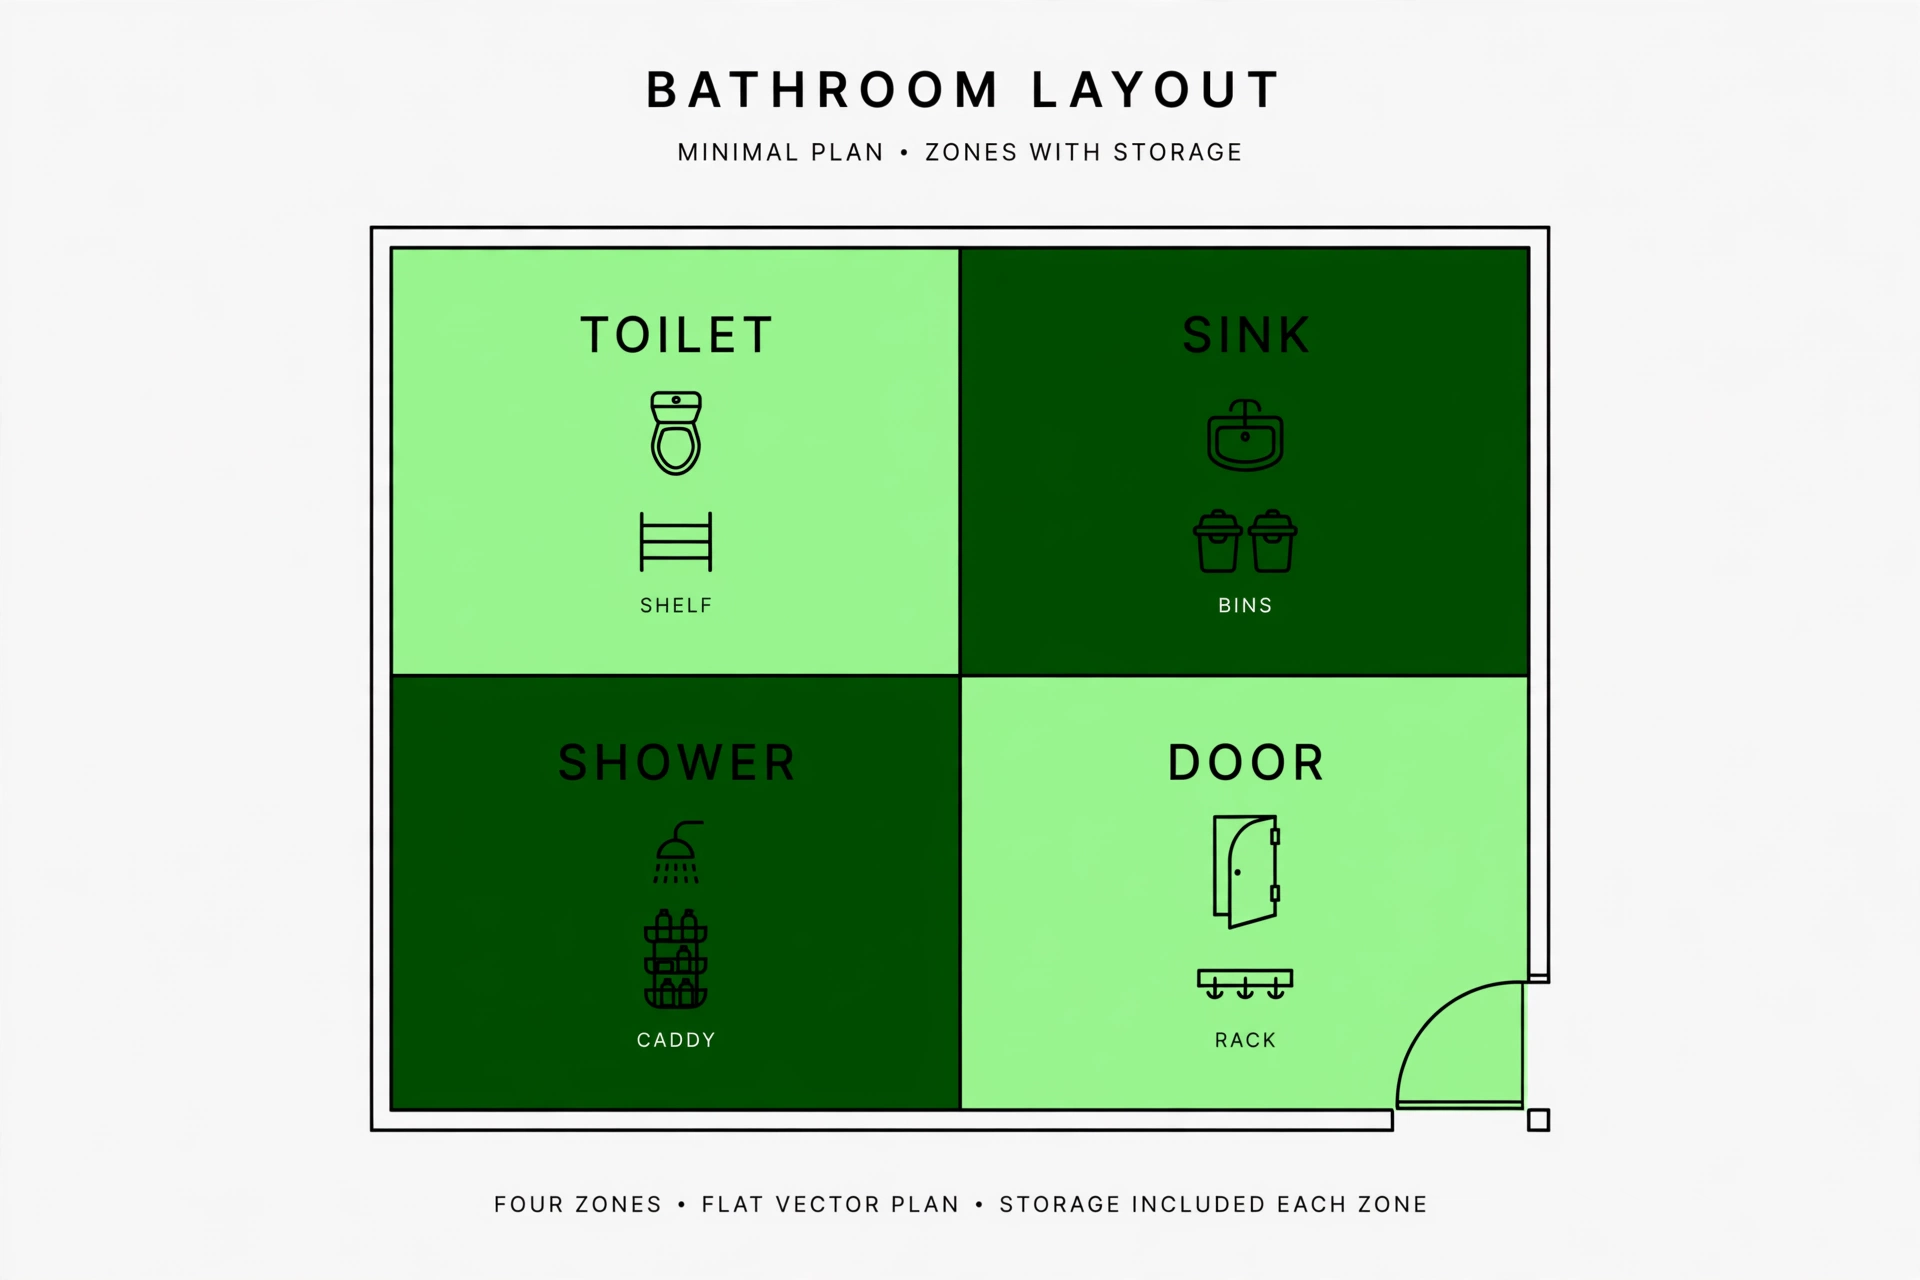
One more principle before the list: bulk backstock (refills, spare toilet paper, extra towels) lives in a hall-closet bin, not in the bathroom. It should never compete for bathroom space. Two zones (under the sink and the shower) each get a dedicated deep-dive guide later in this series; what follows is the renter-speed version that covers you today. Now the twelve in-bathroom hacks:
1. Stand an Etagere Over the Toilet
The wall above the toilet is the largest unused surface in a small bathroom, and a freestanding over-toilet shelf unit claims it with zero mounting. Three tiers hold towels, bins, and daily items. Measure your toilet’s width and tank height before ordering; most units adjust, but a tall tank lid can collide with the lowest shelf.
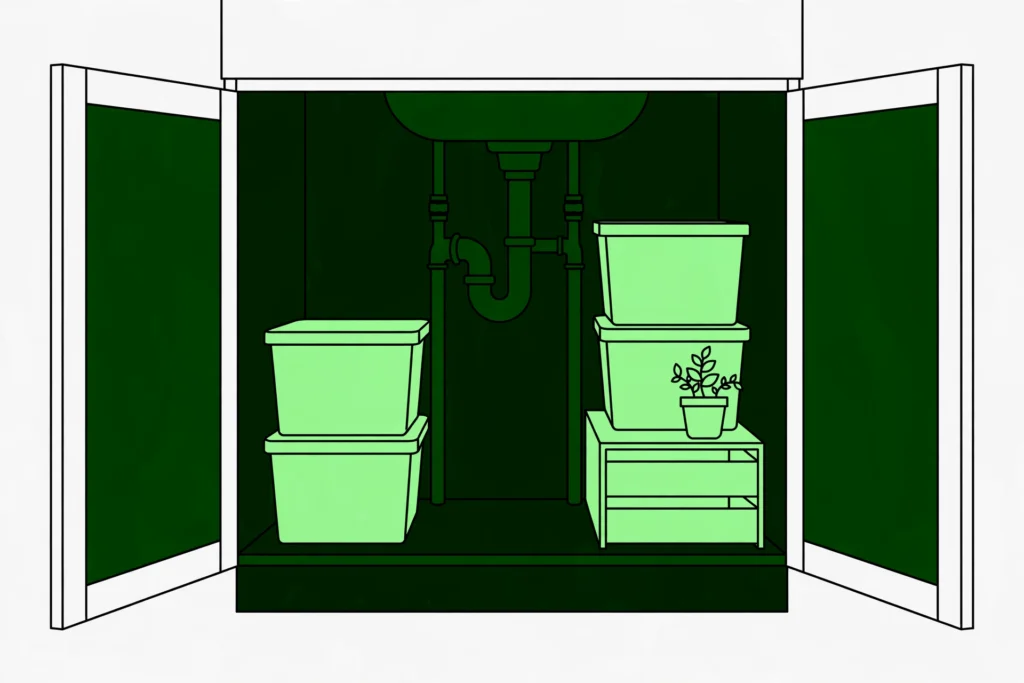
2. Stack Bins and Sliding Organizers Under the Sink
The cabinet under the sink is deep, dark, and usually wasted. Stackable bins sort categories vertically, and a sliding two-tier organizer works around the pipes so nothing gets lost in the back. See the full under-sink system for mapping your pipes and picking no-drill organizers. Put daily items on the sliding tier and backstock below.
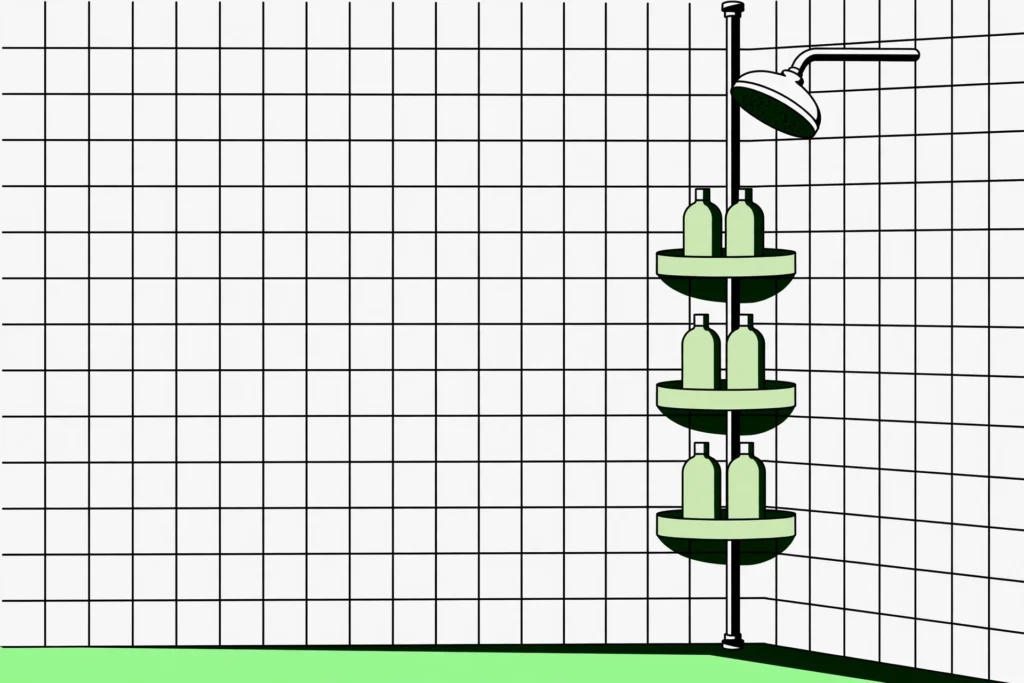
3. Hang a Tension-Pole Shower Caddy
A floor-to-ceiling tension pole turns a shower corner into four shelves of storage with no holes. It needs a flat, solid ceiling to grip, and humidity loosens tension over time, so give it a retightening twist every few months. Keep bottles minimal: a crowded caddy defeats the purpose. The full method for choosing and mounting one that stays up is in our no-drill shower organization guide.
4. Stick Adhesive Hooks and Shelves on Glazed Tile
Adhesive hooks hold robes, towels, and small shelves on smooth glazed tile and glass. The honest caveat: they fail on grout lines and textured surfaces, so plan placement on the flat tile faces. Respect the cure time on the package before loading (usually around 24 hours) or they’ll slide off by morning.
5. Hang an Over-the-Door Rack
The back of the bathroom door holds towels and robes without touching a wall. Choose a rack with padded hooks so it doesn’t scar the door’s top edge, and check that the door still closes fully with it on.
6. Add a Clear Pocket Organizer to the Door
For small items (brushes, sunscreen, first aid, hair tools), a clear over-the-door pocket organizer beats digging through bins. Everything is visible, everything has a slot, and it costs very little.
7. Slide a Slim Rolling Cart Into Dead Gaps
The narrow gap beside the toilet or vanity fits a slim rolling cart with three or four tiers. Roll it out for cleaning, roll it back after. It’s the easiest storage you’ll ever install because there’s nothing to install.
8. Keep One Daily-Essentials Tray on the Counter
The counter rule: one tray, daily items only. Toothbrush, soap, deodorant, the two products you actually use. Everything else lives in its zone. A clear counter makes a tiny bathroom feel twice as big.
9. Zone the Medicine Cabinet With Risers
A small acrylic riser doubles the usable space inside a medicine cabinet: daily items in front at the bottom, occasional items behind and above. Use the inside of the cabinet door too: slim adhesive pockets there hold tweezers, nail clippers, and bandages.
10. Run a One-Hook-Per-Person Towel System
Towels multiply silently. The fix: one hook per person, one towel per hook. Spares get rolled (not folded) into a basket on the etagere or cart. When the basket is full, that’s the signal to do laundry, not to buy more hooks.
11. Label Bins Broadly, One Category Each
Bins work when the categories are obvious: “hair,” “skin,” “first aid,” “cleaning.” Broad labels beat clever ones; anyone (including roommates and guests) can put things back without asking.
12. Use the Closed Toilet Lid as a Surface
A tray on the closed toilet lid creates a contained surface for the few items that need to stay out: hand soap, a small plant. The tray’s edge keeps things from sliding off, and lifting the whole tray takes two seconds when the toilet is needed.
Shared Bathroom Rules for Roommates
Shared bathrooms don’t fail for lack of storage. They fail on ambiguity: whose bottle is this, whose towel is on the floor, who was supposed to clean. Four rules remove the ambiguity:
- One shower caddy per person, and it leaves with you. Each person’s bottles live in their own caddy, which hangs in the shower during use and goes back to their room after. No pile-up, no “whose is this,” no resentment. This one rule eliminates most shared-shower conflict because the shower itself stays empty between users.
- Split the counter into per-person zones. Each person gets one tray-sized zone. Visible boundaries prevent the slow creep where one person’s products colonize the whole counter. When a zone overflows, its owner edits it; nobody reorganizes anyone else’s tray.
- Assign towel hooks. One hook per person, labeled if needed. Communal mystery towels on the floor end the day hooks get names.
- Write down a cleaning rotation. Mirror and sink, toilet, floor and trash: split weekly, posted where everyone sees it (inside a cabinet door, or on the fridge in a pedestal-sink bathroom with no cabinet). Written beats remembered, and rotating weekly beats arguing monthly.
Where the Ugly Necessities Live
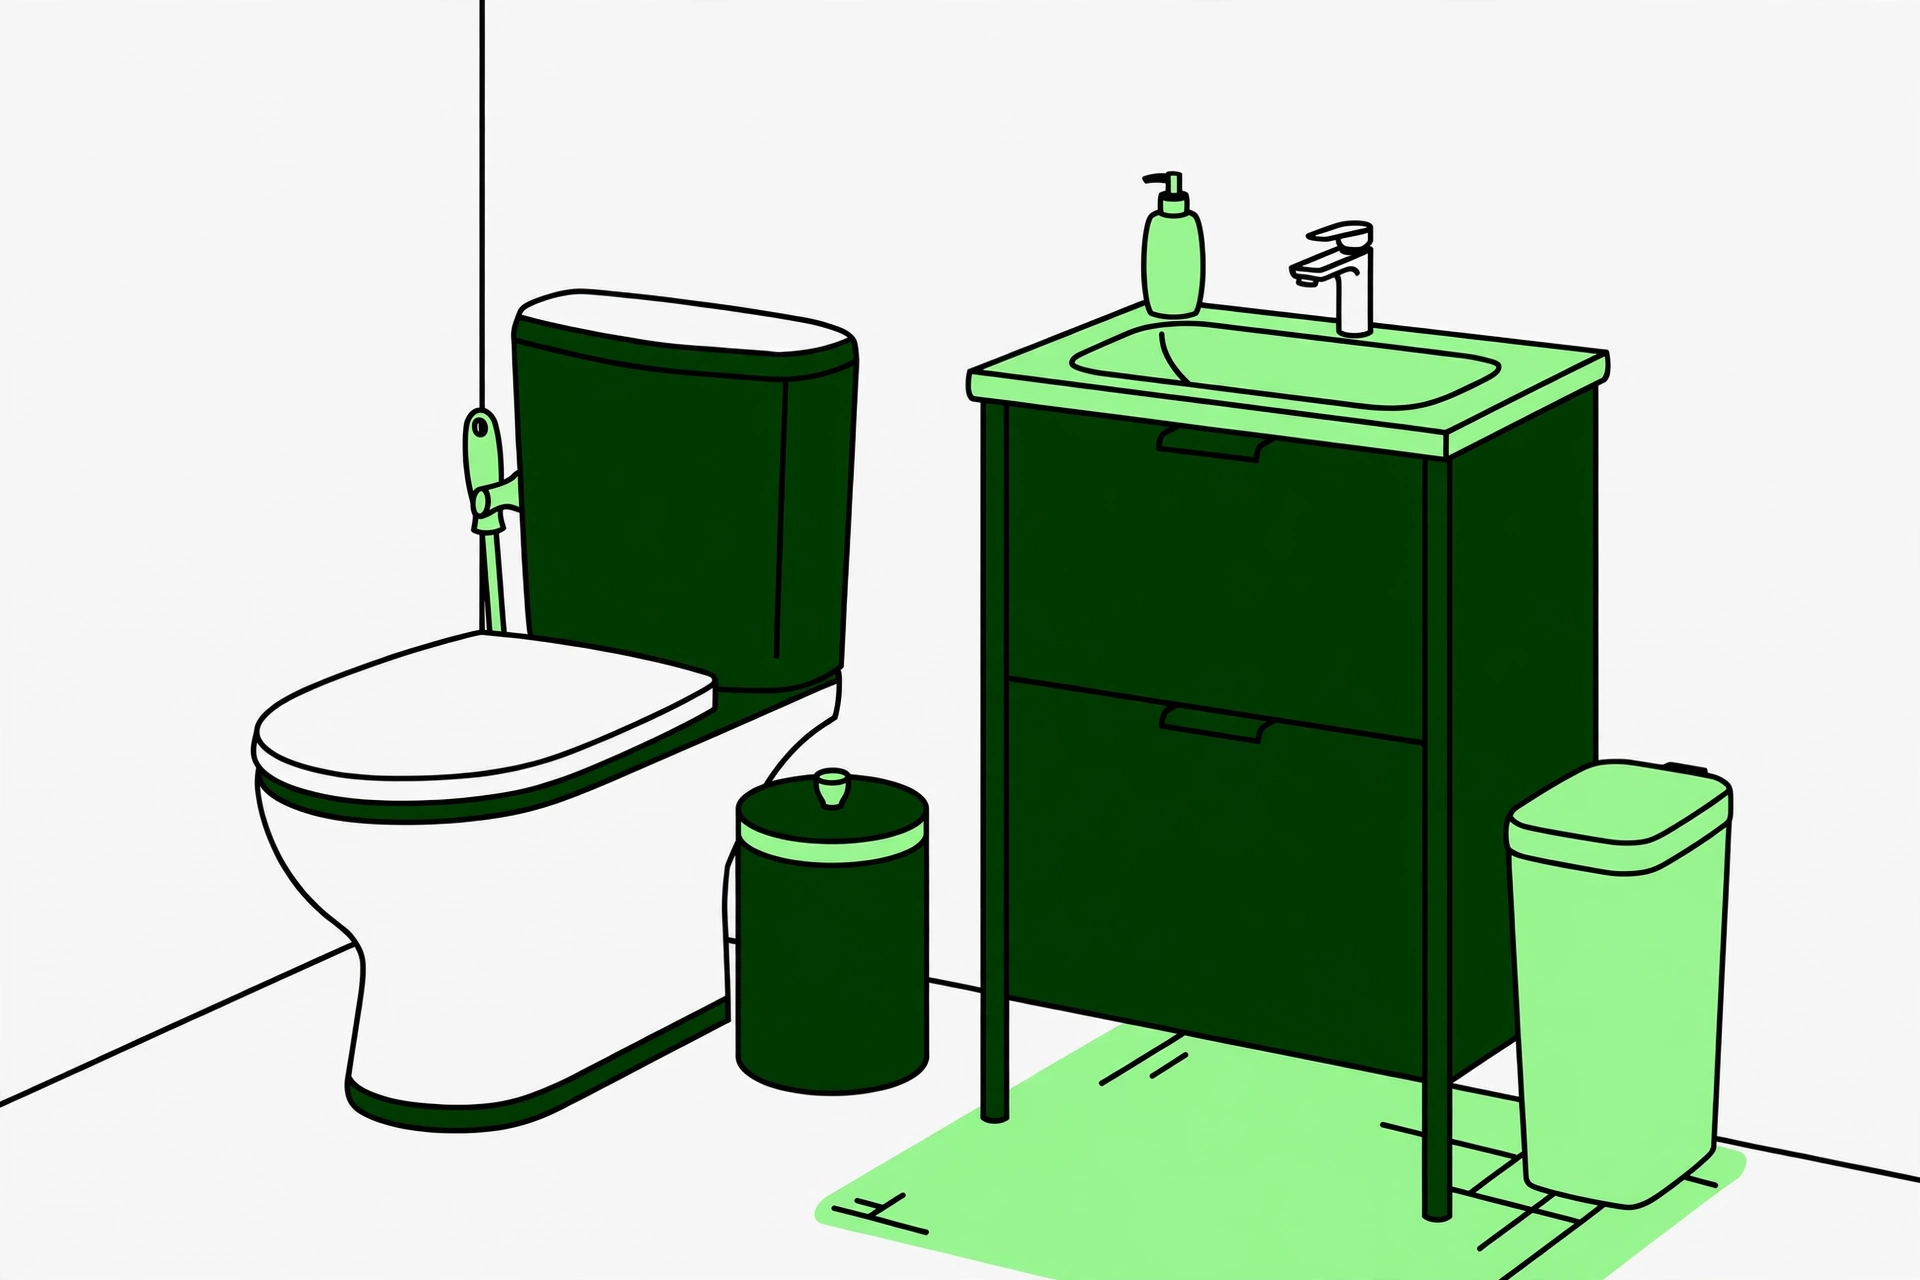
No guide covers this, so let’s just say it plainly. The plunger gets a slim behind-toilet holder; if your bathroom has a vanity, it can live inside the cabinet, and if it’s a pedestal sink (see the playbook below), the behind-toilet holder is the answer. The toilet brush lives in a lidded canister, never open beside the bowl; tuck the canister behind the toilet or inside the vanity. The trash can should be slim enough to sit beside the vanity or behind the door, wherever the door swing doesn’t hit it. Ugly doesn’t have to mean visible.
The Pedestal-Sink Playbook: Bathrooms With Zero Storage
Some rental bathrooms have no vanity and no medicine cabinet: just a pedestal sink, a toilet, and walls you can’t drill. This is the stack, in order, cheapest first:
- Hide bins behind a sink skirt. A skirt around the pedestal base conceals two or three bins of supplies. Choose a washable, quick-dry fabric, never raw untreated cloth: a steamy bathroom will mildew anything that stays damp (see the humidity rules below).
- Park a slim cart beside the sink. Daily items live here at arm’s height. It’s the vanity you don’t have.
- Take the door. An over-the-door rack plus a pocket organizer adds a wall of storage with zero holes.
- Add adhesive shelving last. On glazed tile only, for the few things that still need a home.
This stack takes a zero-storage bathroom to fully functional, often for under $50 total, and no holes in anything.
The full system, with the measurements to take before buying and the category-by-category assignments, is in our full bathroom-with-no-storage guide.
Humidity-Proof Your No-Drill Setup
Bathrooms eat storage. Steam loosens adhesives, swells raw wood, and rusts cheap metal. Five rules keep the setup alive:
- Choose sealed materials. Plastic, powder-coated metal, and sealed finishes survive; raw wood, wicker, and untreated fabric don’t. This is why the sink skirt above must be washable and quick-dry.
- Respect cure times. Adhesive mounts need their full cure time (often around 24 hours per the package) before you load them. Loaded early, they fail by morning.
- Leave air gaps. Don’t pack baskets airtight against walls; circulation prevents mildew behind them.
- Re-check mounts seasonally. Suction cups and tension poles loosen in humidity. A quick twist-and-press every few months keeps them solid.
- Report mold promptly. If mold appears, tell the landlord. Hiding it risks your health and your deposit.
The Move-Out Checklist: Leave No Trace
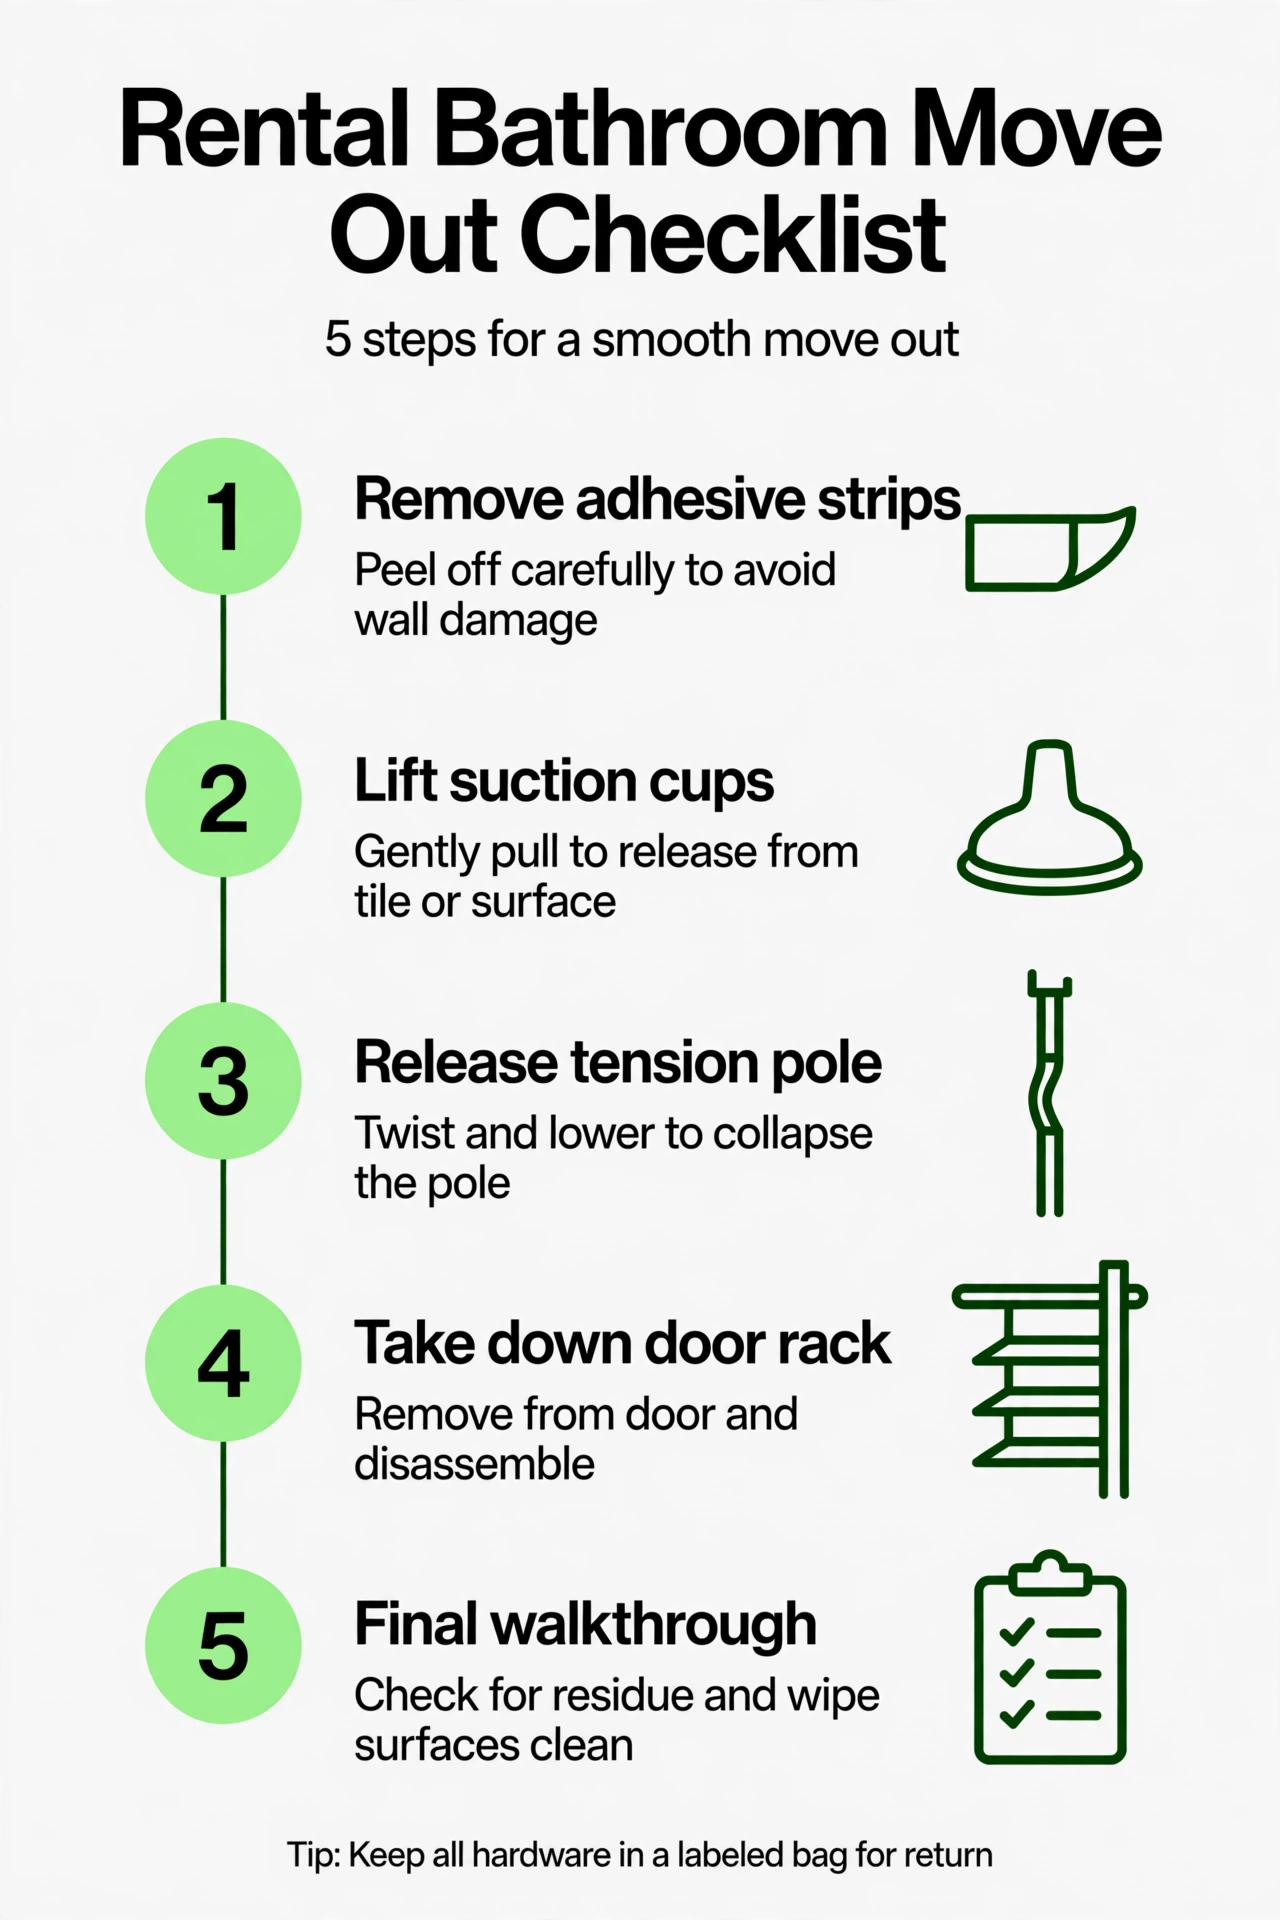
If every product was truly no-drill, move-out is an hour, not a repair bill. Work in this order:
- Adhesive strips: warm each with a hairdryer, then pull slowly along the wall, never outward. Slow and warm leaves no residue on tile.
- Suction cups: lift the release tab and peel; wipe any ring marks with a damp cloth.
- Tension poles: release the tension fully before removing, then check the ceiling and floor contact points for marks.
- Over-door racks: lift off and inspect the door’s top edge for scuffs.
- Final walkthrough: every mount point inspected, bins emptied, surfaces wiped. Photograph the bathroom for your records.
The same no-damage mindset serves every room; our renter bedroom guide applies it to the bedroom. Leave the bathroom as you found it, and the deposit follows.

Mike Mann writes practical home organization and small-space living guides for CozySorted. His work focuses on apartment-friendly storage, clutter-free routines, bedroom organization, and simple systems that help renters, apartment dwellers, and small-space homeowners create calmer, easier-to-maintain homes.