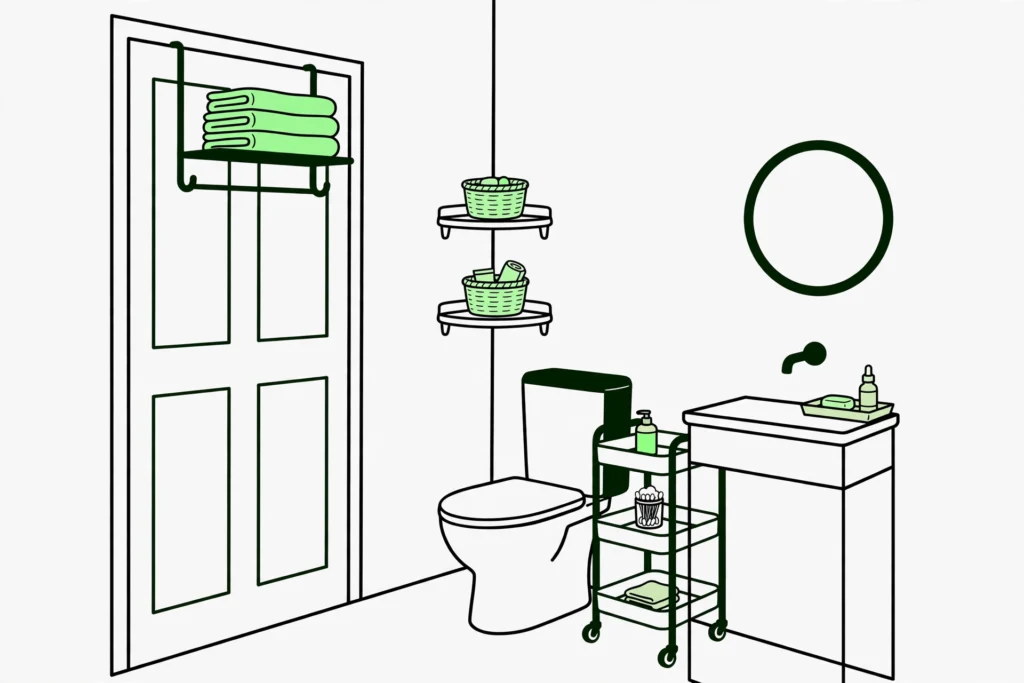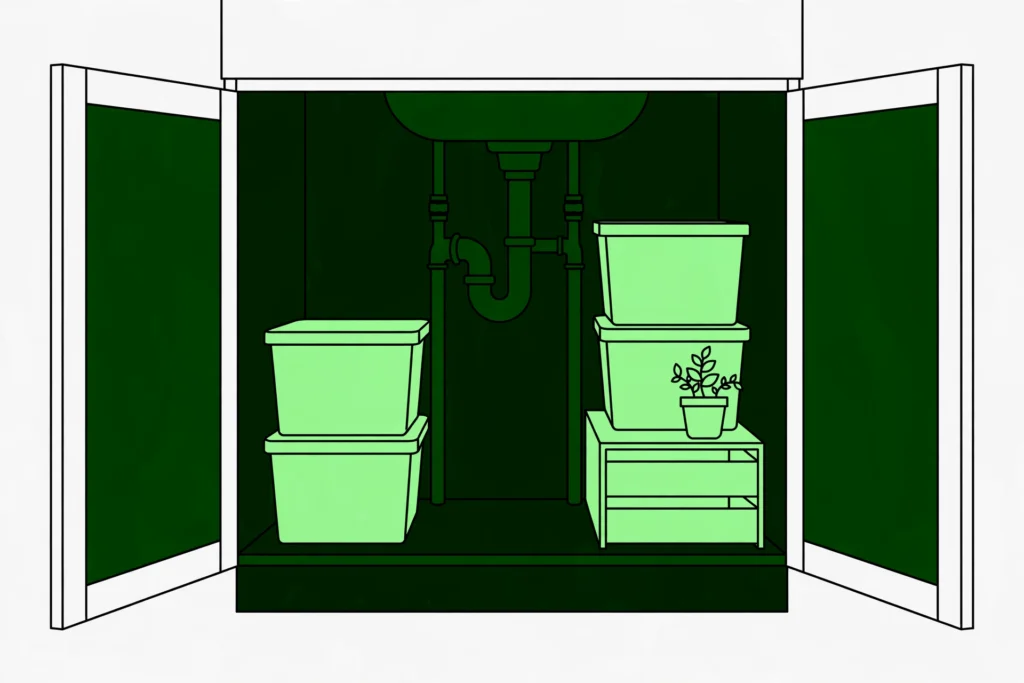
A medicine cabinet reset takes about half an hour and follows one order: empty it completely, sort every item by rule instead of by guesswork, dispose of the rejects safely, then reload only what earns its place, arranged by how often you reach for it. Two facts drive the whole checklist. First, medicines are judged by expiration dates and condition, not by whether the shelf looks tidy. Second, the bathroom is a genuinely poor room for storing medicine, because shower steam and heat degrade it, so the keep step below decides not just what stays, but what stays here. Work through the five steps in order; each one is a checklist, not a suggestion list.
Step 1: Empty the Cabinet Completely
Take everything out and put it on the counter. Every bottle, tube, box, and loose item, including whatever is hiding behind the front row. Nothing gets judged while it is still on the shelf, because the items that most need judging are the ones you cannot see.
Wipe the shelves while they are empty. Drips of syrup, toothpaste smears, and rust rings from damp cans all live at this layer, and reloading onto a dirty shelf just buries them again. Leave the cabinet open to dry while you sort.
Step 2: The Toss Checklist
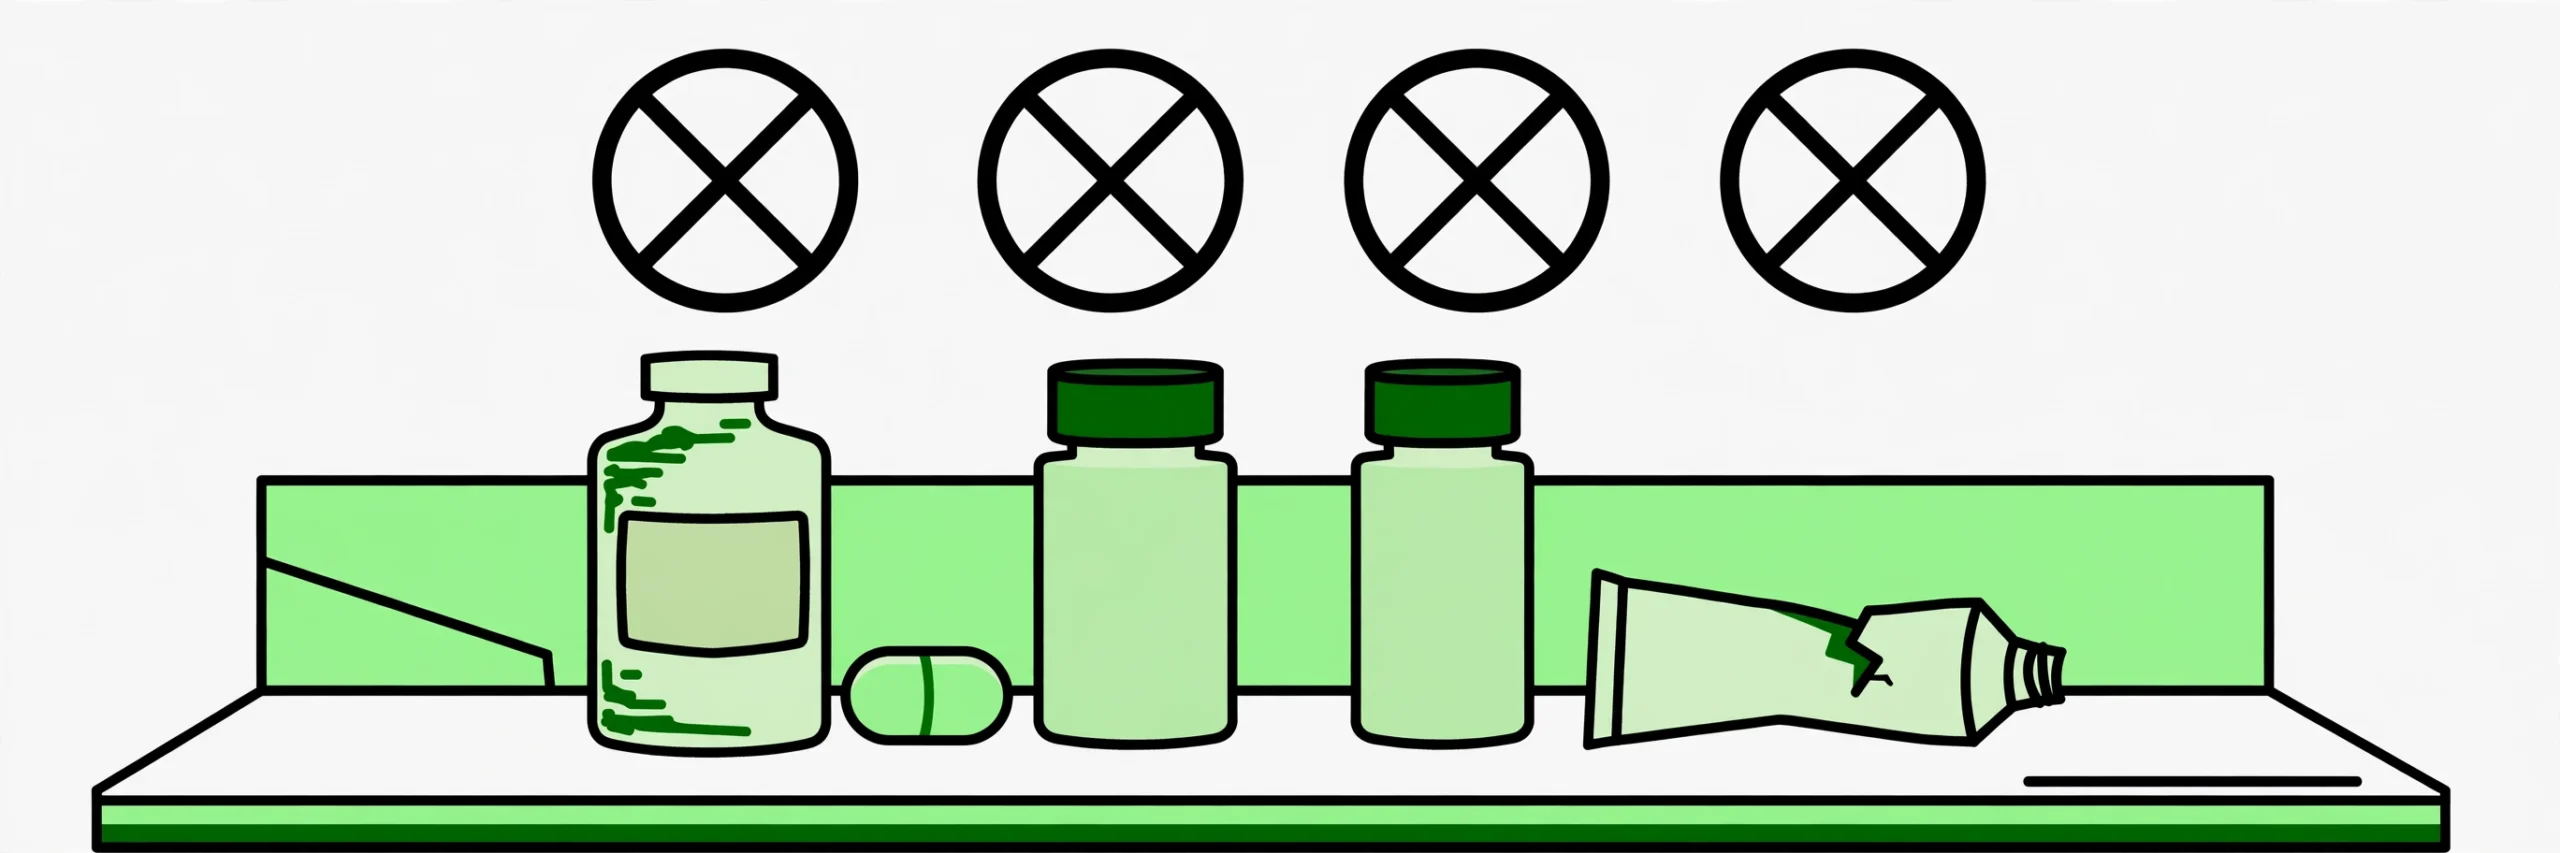
Work through the pile item by item. Anything that matches a line below goes into the toss pile, no exceptions for “might still be fine”:
- Expired anything. Medicines, ointments, vitamins, eye drops, and sunscreen past their printed dates. Expiration is the date after which the maker no longer guarantees full strength and safety, so an expired item is a failed item, however normal it looks.
- Unlabeled or unidentifiable items. If you cannot tell what it is, it does not go back in. That includes bottles whose labels have worn off and boxes separated from their contents.
- Loose pills. A pill with no container has no name, no dose, and no date. Out.
- Items that have changed. Discolored, crumbly, separated, or strange-smelling products, and anything with a broken seal.
- Leftover prescription courses. Prescriptions kept “just in case” after the course ended. Leftover antibiotics are the classic case: a partial course helps no one, and keeping them invites self-treating later. Dispose of them as below.
- Duplicates beyond one backup. Three open bottles of the same pain reliever means two were bought because the first could not be found. Keep the newest, plus one sealed backup at most.
- Items missing their measuring device. Liquid medicines whose dosing cup, dropper, or syringe is gone get replaced, not guessed at.
- Cosmetics past their open period. Old mascara, creams, and lotions carry a period-after-opening symbol (a small jar icon with a number of months). Past it, they go.
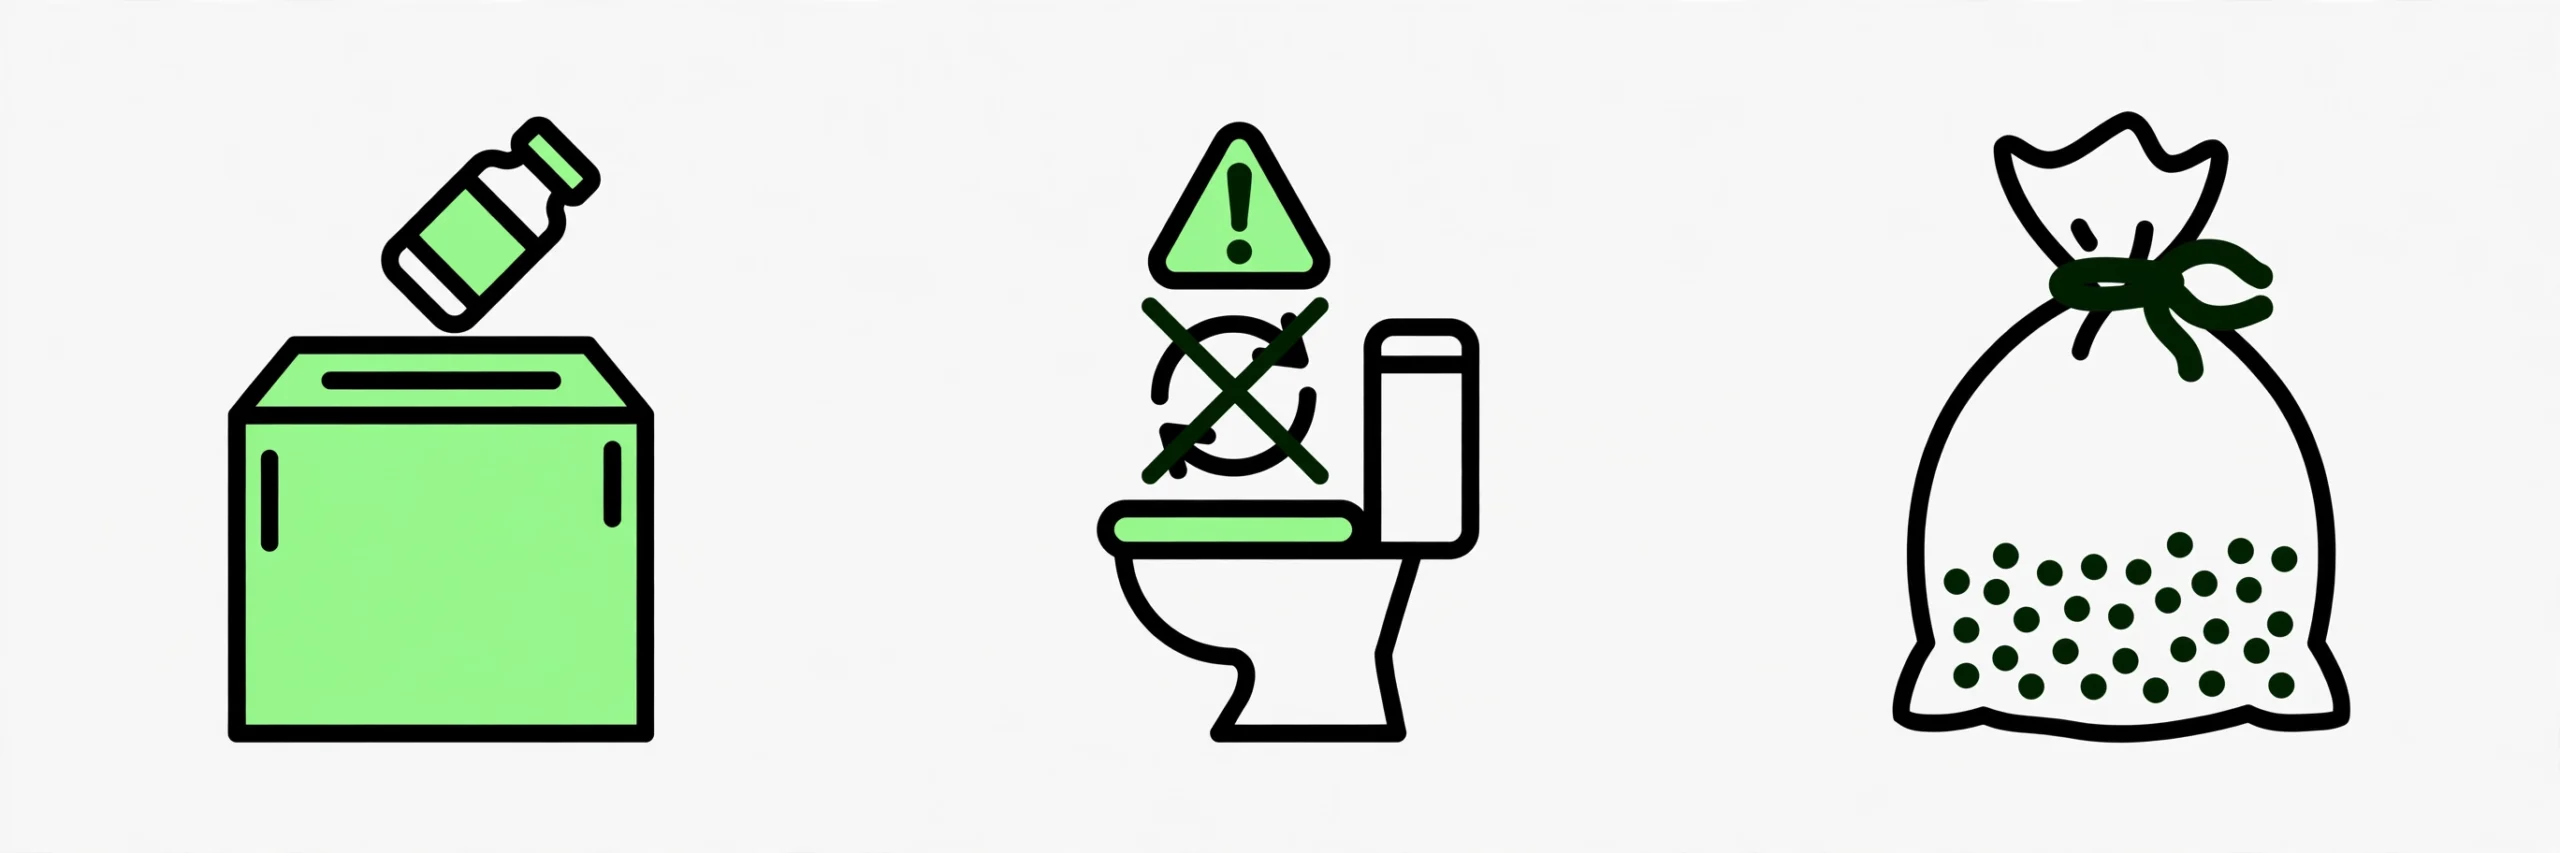
Dispose of medicines safely, in this order. First choice: a drug take-back location or a prepaid mail-back envelope; many pharmacies have drop boxes, and if you do not see one, ask at the pharmacy counter. This is the method the FDA puts first. Second: if no take-back is reachable, check whether the medicine is on the FDA flush list. Only flush-list medicines get flushed, and only in that situation. For everything else, use the household trash method: take the medicine out of its container, mix it with something unappealing like used coffee grounds, cat litter, or dirt, do not crush tablets or capsules, seal the mixture in a bag or container, scratch the personal information off the empty label, and put both in the trash. Inhalers and used sharps follow different local rules; check your local program rather than improvising.
Step 3: The Keep Checklist (and Where Medicines Actually Belong)
What goes back in is a working set, not an archive. The keep list for most households is short:
- Current prescriptions you are actively taking, in their original labeled containers.
- In-date everyday basics: a pain and fever reliever, an allergy medicine, an antacid, a hydrocortisone cream, an antiseptic.
- A thermometer that works, with its case if it has one.
- The first-aid items you reach for weekly: adhesive bandages, gauze, tweezers. (Bulk first aid and backstock live in the under-sink zones in the under-sink storage system; the cabinet keeps only the working set.)
- Daily health and grooming items you genuinely use every day, if this cabinet is also your daily station.
Two rules govern everything on this list. Keep every medicine in its original labeled, child-resistant container: never combine medicines into one bottle and never decant them into unlabeled jars, because the label carries the name, the dose, and the date. And apply the humidity rule: the cabinet holds the set you use weekly, in a steamy room, without much harm. Medicines that absolutely must work in an emergency, and anything you are storing long-term, keep better in a cool, dry place outside the bathroom, such as a bedroom drawer or a high kitchen cabinet. Where children are in the home, that spot also needs to be out of reach or locked; shelf arrangement never outranks that.
Step 4: Reload by Zone
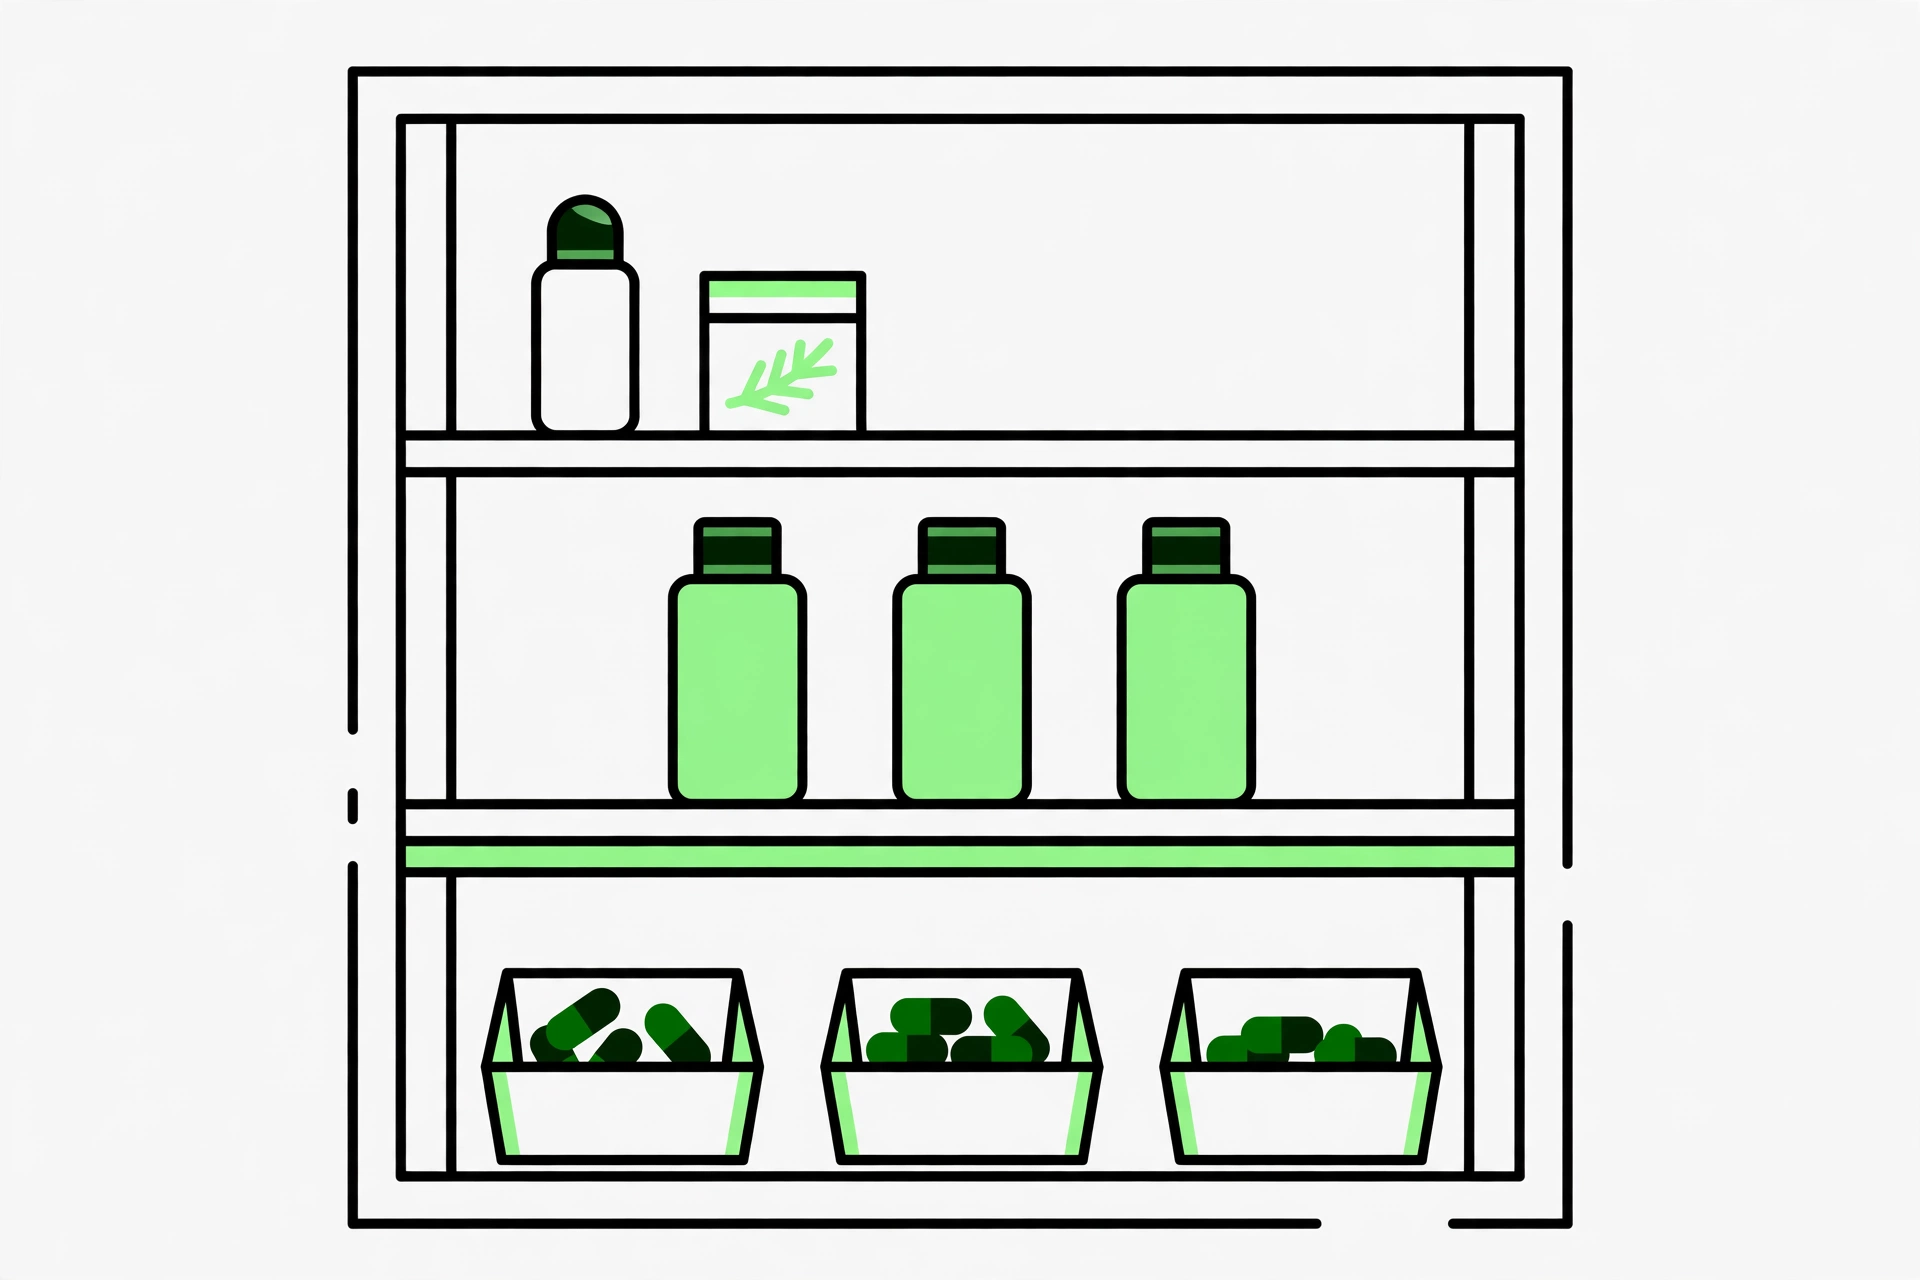
Put the working set back by frequency, not by category alone:
- Eye-level shelf: daily. What you reach for every morning and night. This shelf gets the least clutter and the front row only.
- Middle shelf: weekly. The everyday basics from the keep list, grouped so pain relief, allergy, and first aid are not interleaved.
- Top shelf: rare and seasonal. Allergy stock in season, the backup bottle, occasional items. If you need a step stool to reach it, it belongs here or nowhere.
- Shared cabinets: one zone per person. A shelf half, a small bin, or a side of the shelf each, so one person’s sorting does not bury the other’s daily items.
- Children’s and adult products stay separated, on different shelves, not side by side; lookalike packaging is how mistakes happen.
Small risers, narrow bins, and door-mounted pockets earn their place only when they solve the actual problem of this cabinet: bottles hiding behind bottles. If a shelf is single-depth already, skip the organizers and let the zones do the work.
Step 5: Label, Date, and Schedule the Next Audit
Before you close the door, do the three things that make the next reset take ten minutes instead of thirty:
- Write the opened-on date on items that expire after opening (eye drops, creams, liquids) with a permanent marker on the cap or label. Future you cannot judge what present you did not date.
- Arrange by expiry within each zone: soonest date at the front, latest at the back, so the front bottle is always the right one to finish first.
- Set the audit rhythm: run this checklist about every six months. Tie it to something you already notice, like changing the clocks, so it happens without a reminder system. Each audit is mostly Step 2 again: dates, changes, duplicates.
The cabinet is one zone of the bathroom, and it stays sorted longest when the zones around it work too. The full picture, from the shower to the door, is in the full rental-bathroom system, which this checklist plugs into as the cabinet step.

Mike Mann writes practical home organization and small-space living guides for CozySorted. His work focuses on apartment-friendly storage, clutter-free routines, bedroom organization, and simple systems that help renters, apartment dwellers, and small-space homeowners create calmer, easier-to-maintain homes.